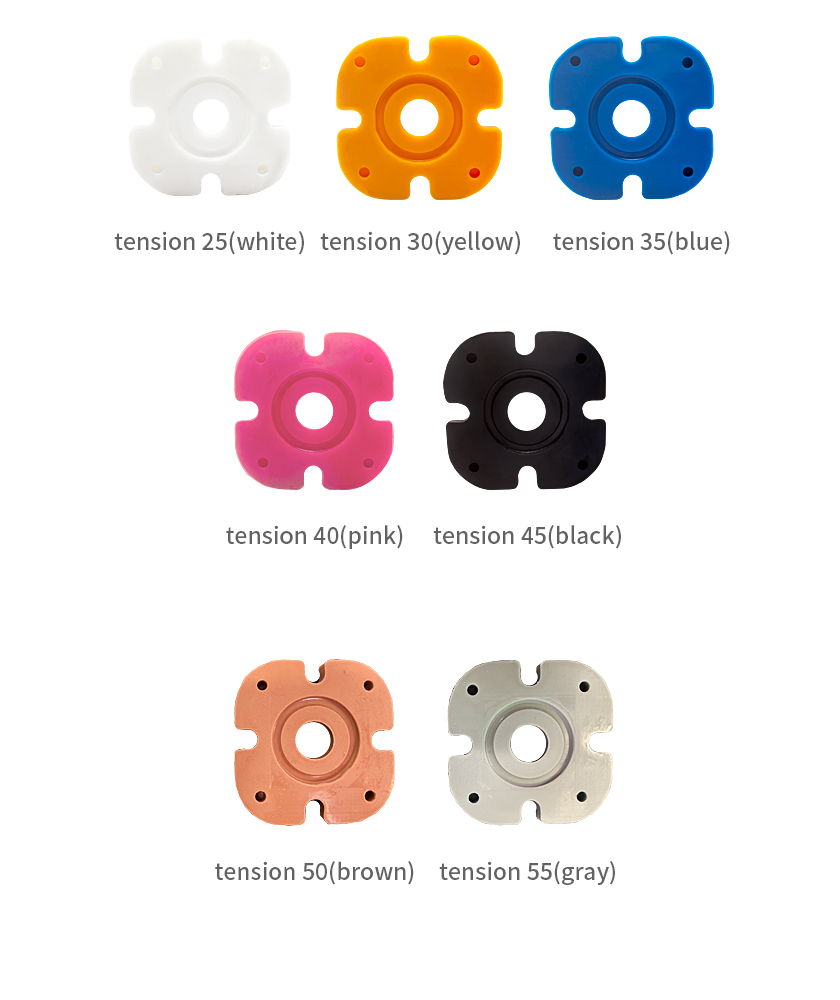
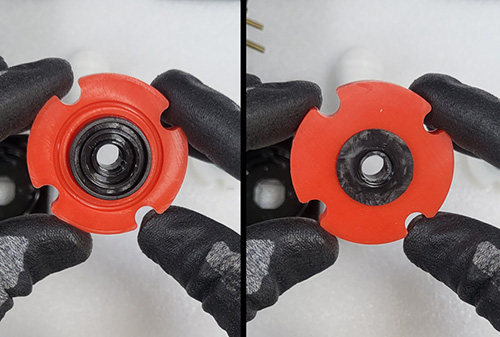
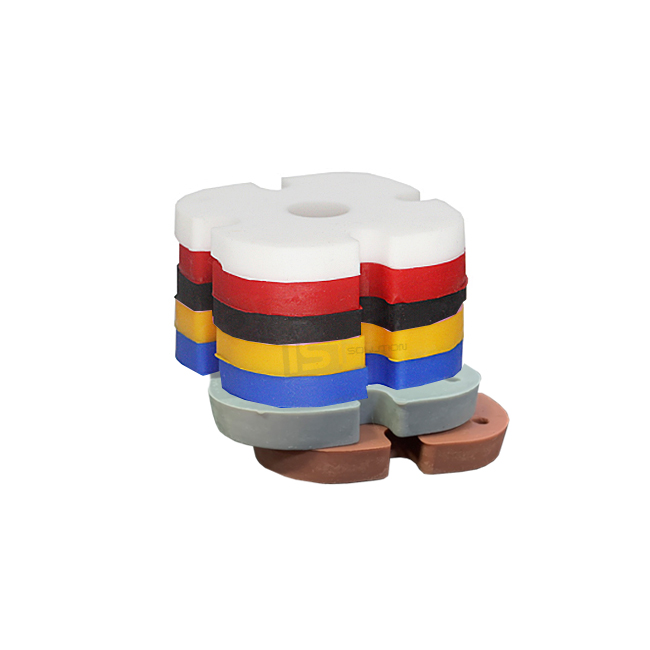
Compatible levers: IST Knee Lever, Alpha Lever, Sanjuks V7 Lever, Myoungshin Lever, or Fujin Lever
Not compatible with Knee Lever Neo, Samducksa 303, 307, 309 series levers, Crazy Dongpal Lever, Helpme Lever, Infiltration Lever, Sanjuks V6 Lever, Sanjuks Type-R Lever

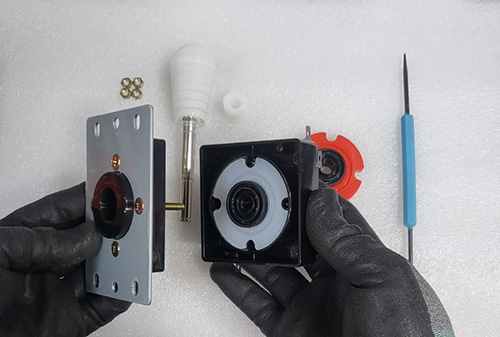
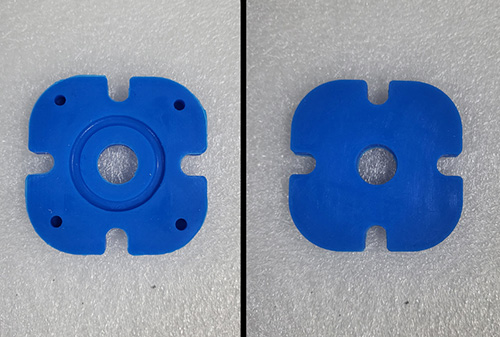
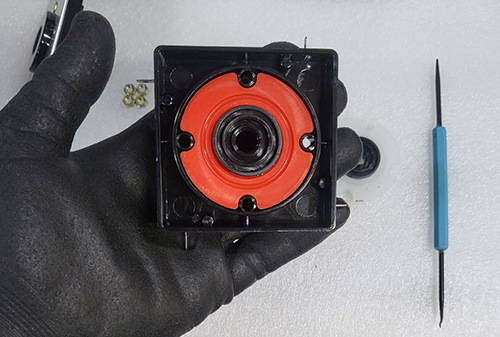
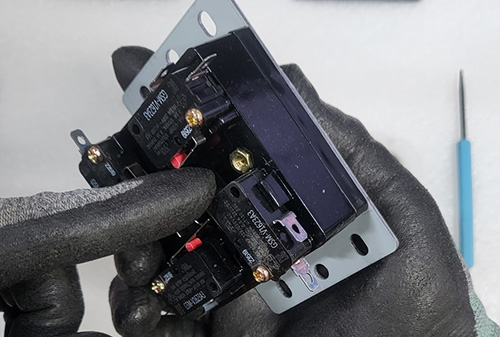
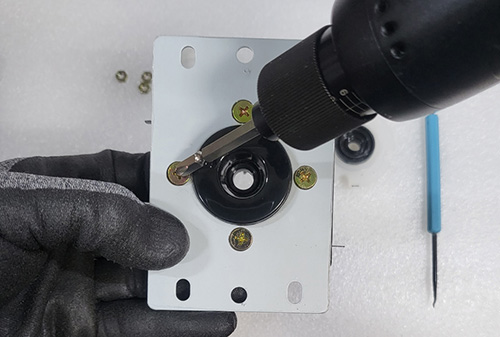
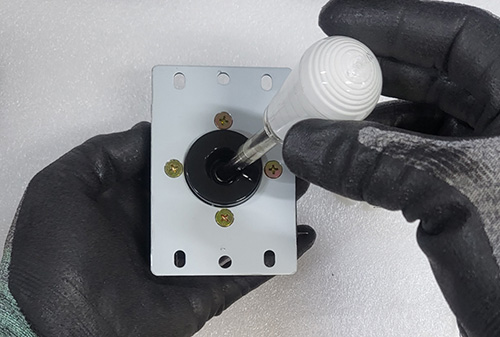
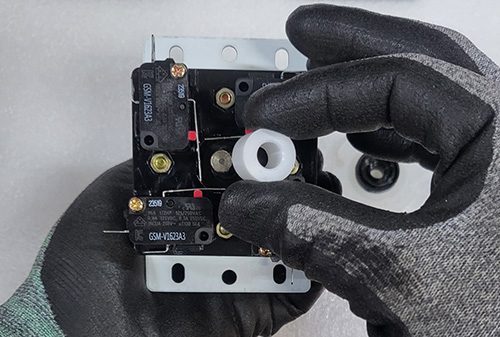
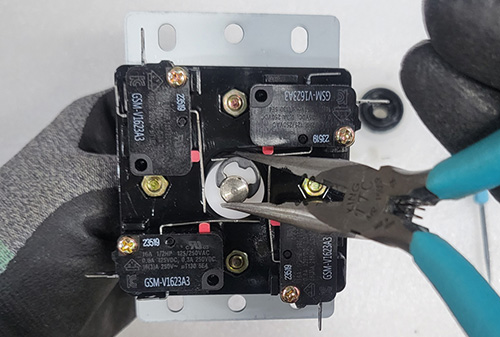
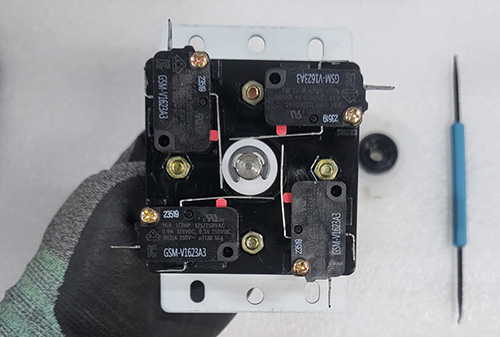
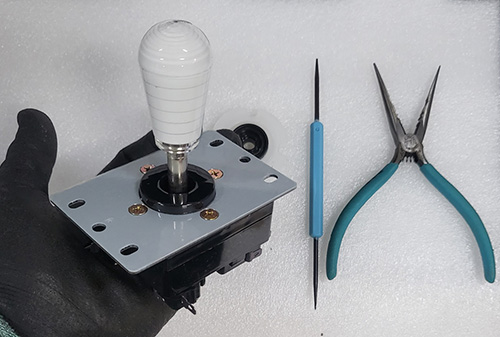
[Rubber Grommet Replacement Guide]
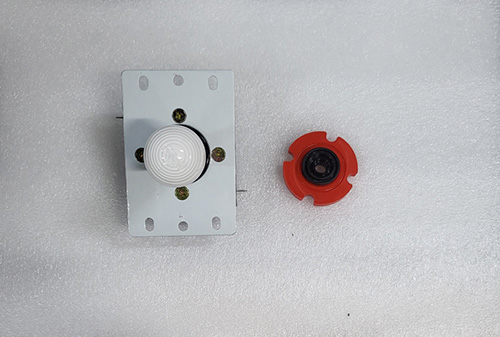
This guide explains how to replace the rubber grommet in Korean levers such as Samducksa and Myoungshin levers.
While the example shown is for a Samducksa lever, the same method applies to most Korean levers including Alpha, Knee, and Fanta levers.
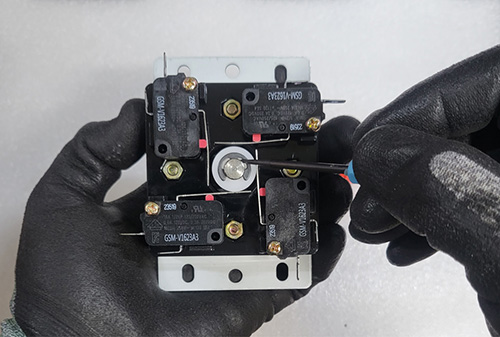
If the lever handle is already attached, you must remove the E-clip to separate the handle.
If you purchased the lever as separate parts, the handle will already be detached—so you can skip this step.
Use a pointed tool like a soldering assist tool, long nose pliers, or a flathead screwdriver.
Be careful not to lose any parts, including the E-clip, during this process.
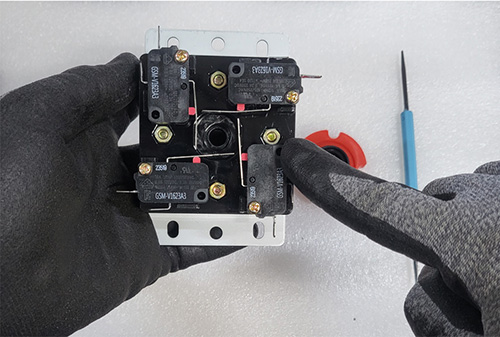
Before removing the bolts from the bracket, press gently on the nut located at the bottom of the lever to prevent it from rotating.
Otherwise, the bolt may spin freely and become difficult to remove
Use a Phillips screwdriver to remove the top bolts.
Press gently on the opposite side of the nut while turning the screwdriver. Be cautious not to hurt your fingers.

After removing all four bolts, separate the metal bracket and the upper body.
You’ll now see the rubber grommet mounted on the body.
Remove the old grommet by hand and replace it with the new one.
Note: Rubber grommets have an orientation—make sure to install them correctly. The side with grooves should face up. he smooth side should face down.
This applies to Myoungshin grommets used in Alpha, Knee, and Fujin levers as well. Always install the grooved side upward.
Reassemble the upper body and bracket in reverse order.
For levers like Alpha, Knee Neo, and Fujin, which are directional, ensure the bracket is positioned correctly (not rotated 90°).
Before inserting the bolts, first slide the nuts into the grooves at the bottom of the lever.
While holding the nut in place with your finger, fasten the bolts securely.
Insert the lever handle. If you are using a dust washer, make sure to position it beforehand.
Attach the actuator to the opposite end of the handle.
Use long nose pliers to reattach the E-clip.
Be cautious, as the E-clip may spring out and get lost.
Ensure the E-clip is properly secured.
|