
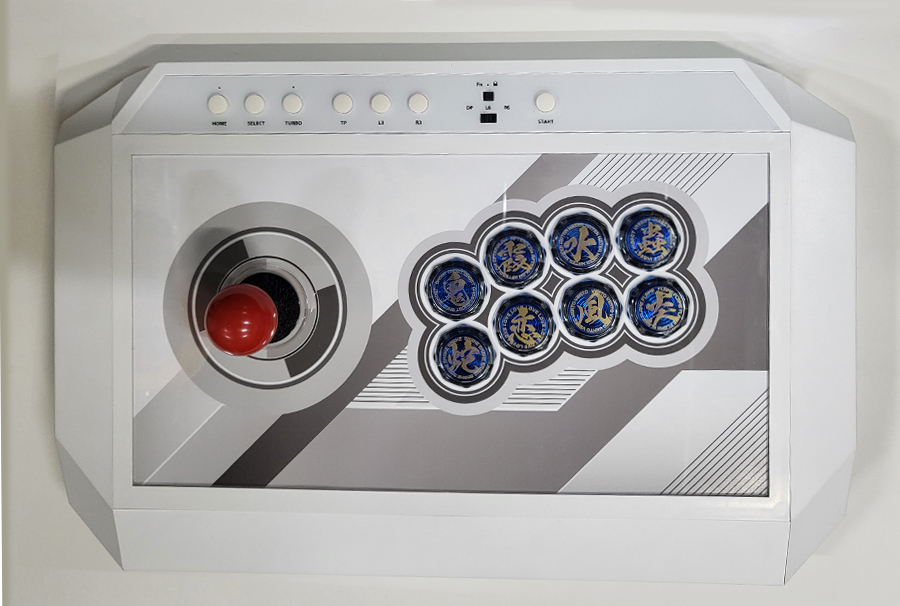
Guide to Replacing the Artwork Image on the Make Stick X Prime
Press the one-touch button to open the top panel.
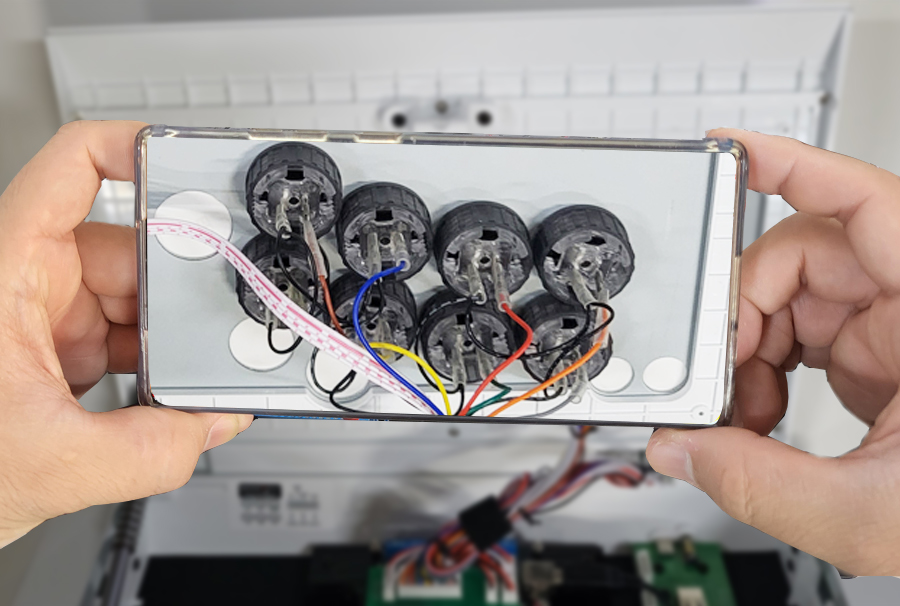
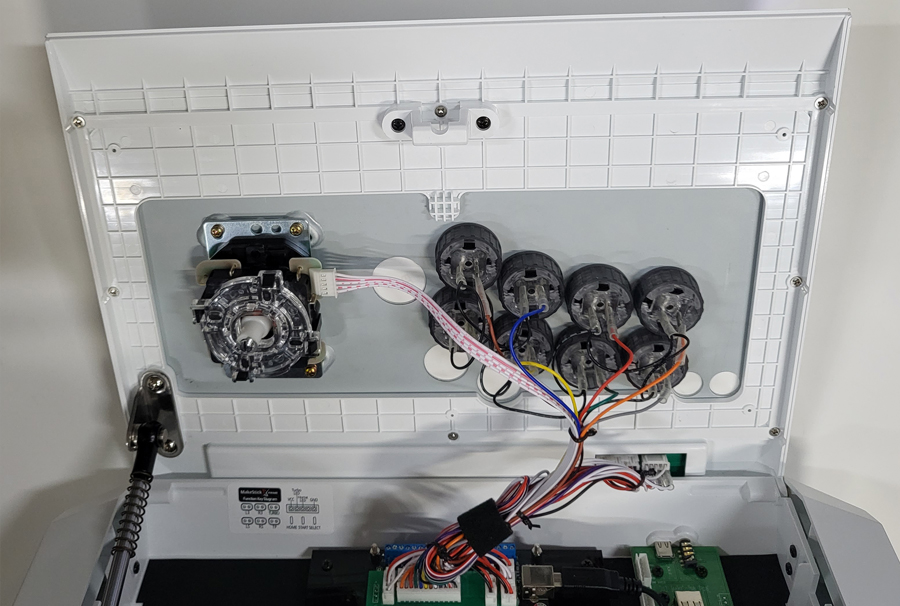
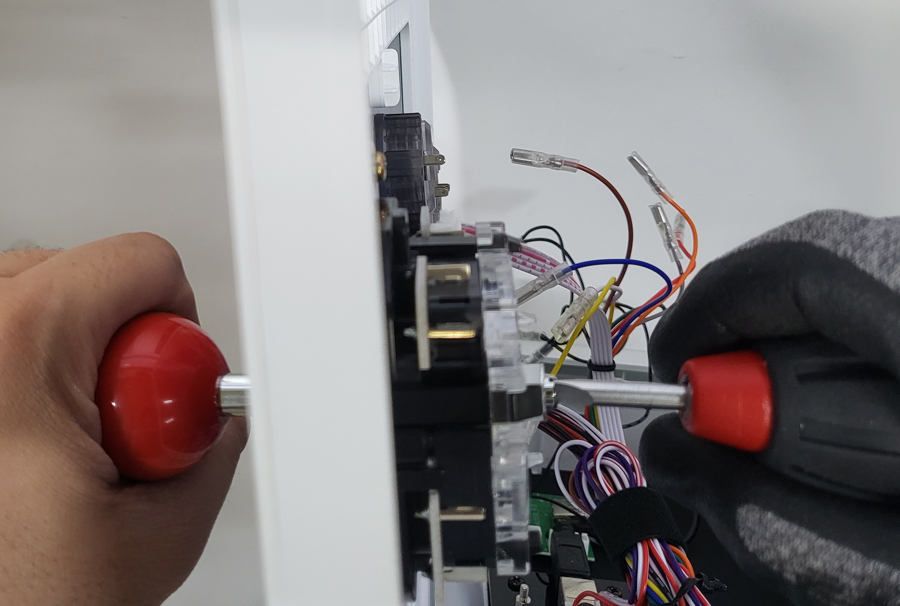
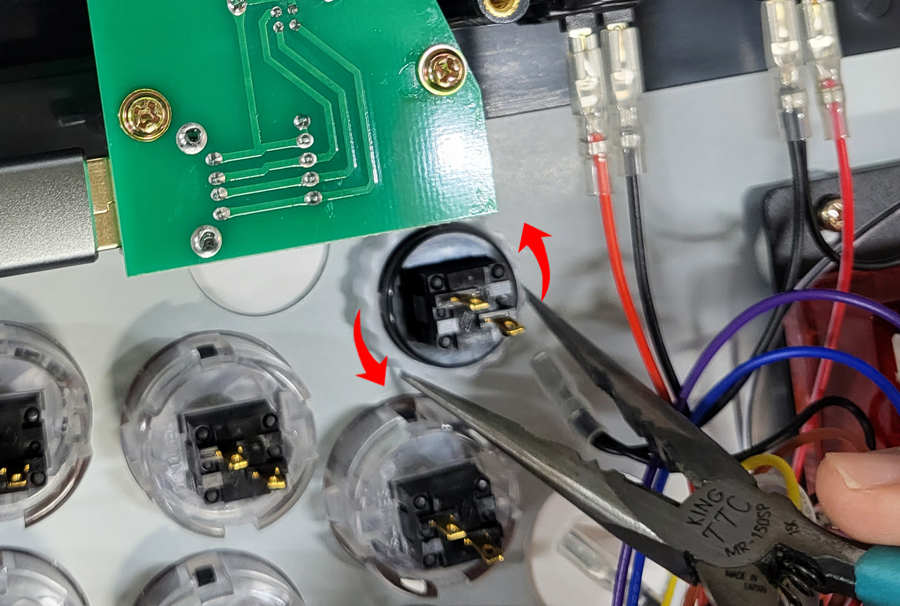
Before disconnecting the button cables, it's recommended to take a photo of the wiring positions for reference.
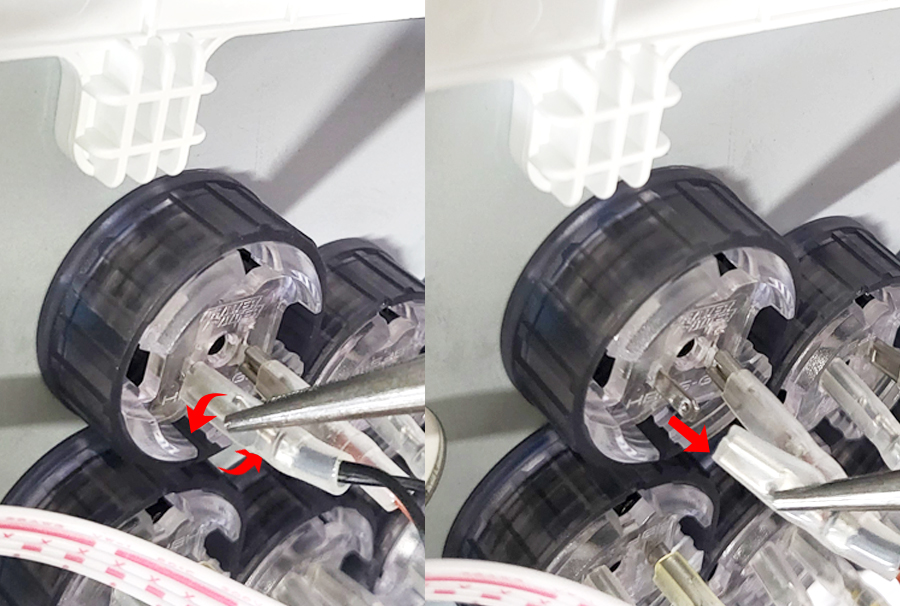
If you are experienced, you can disconnect the cables by hand, but using needle-nose pliers to grip the terminal and gently twist while pulling will make it easier.
Make sure to pull from the terminal inside the cable to avoid breaking the cable.
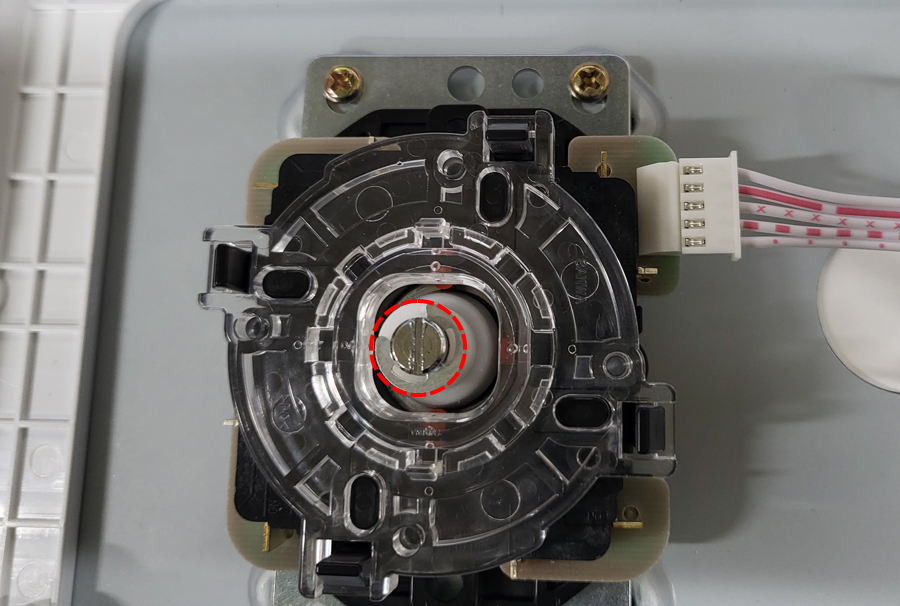
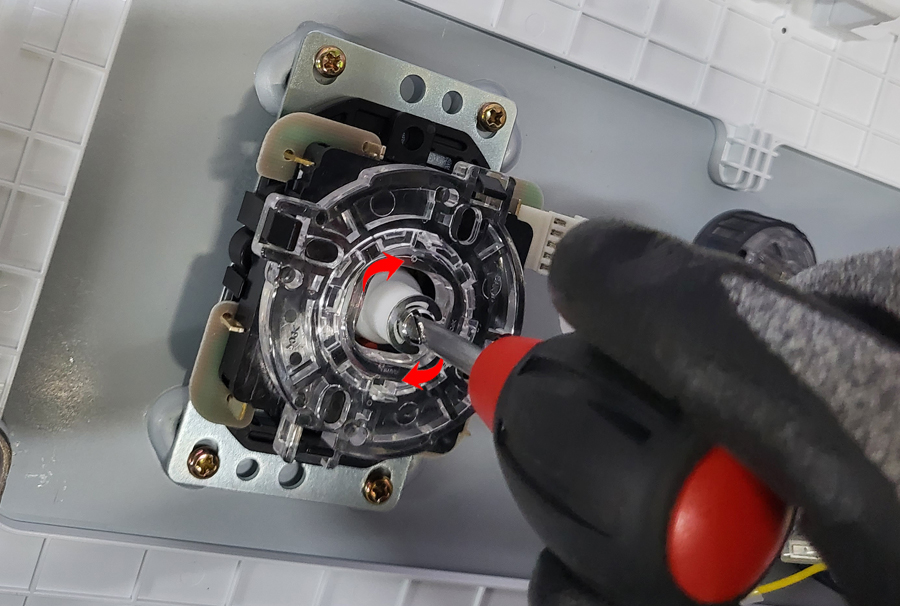
At the lower part of the lever's shaft, there is a flathead screwdriver slot to make disassembly of the handle easier.
For replaceable shaft levers like Alpha lever, Knee Lever Neo, Crazy Dongpal lever, and NEW Helpme lever, you can use the same method.
* If it's a Fanta Lever, you can skip this step and proceed with button removal.
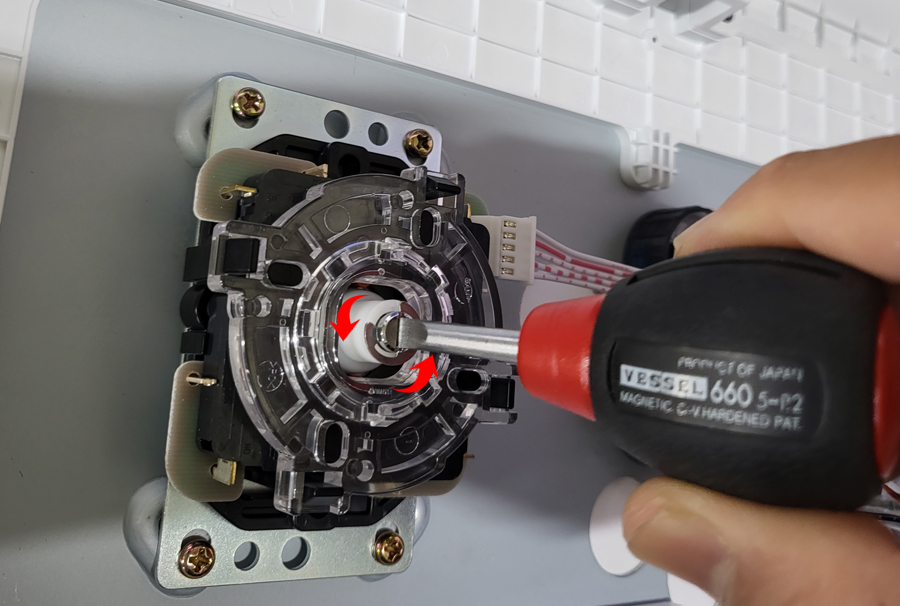
Rotate the flathead screwdriver in the left direction to release the handle lock.
Use one hand to hold the lever handle to keep the lever shaft from spinning, and the other hand to use the screwdriver.
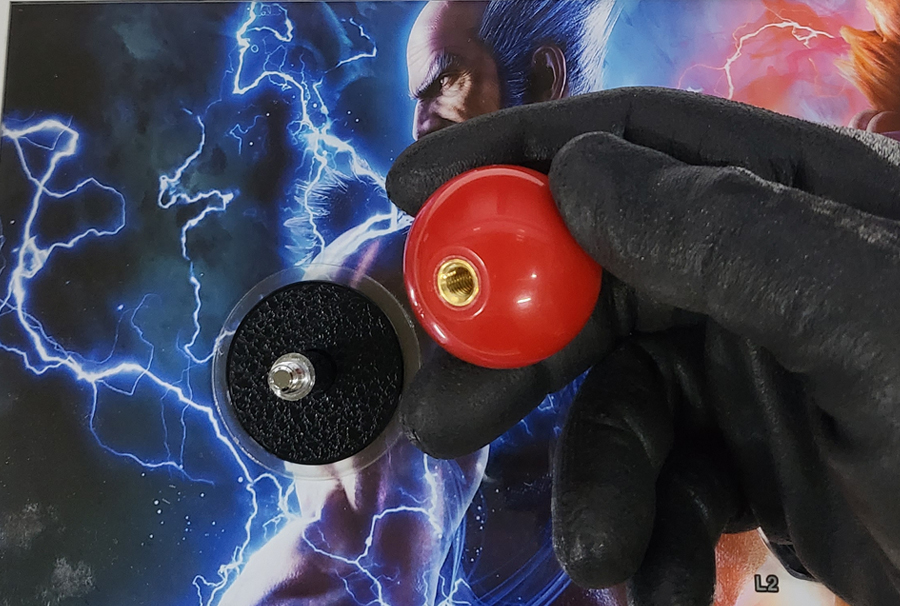
Remove the lever handle and dust washer.
In the case of a nut-type button, you need to remove the nut first, which may be difficult to loosen by hand if it is strongly fastened, and you need to turn the nut counterclockwise with a long-nose tool to loosen it.
The nut of the Samducksa SDB button has a protruding structure such as a slightly protruding bump, so you can remove it with little force by rotating the long-nose tool against the protruding part.
* The nuts on the Gamer Finger buttons do not have protrusions, so we recommend removing them with your bare hands.

For buckle-type buttons, press the buckles that protrude on either side of the button while pushing them outward to remove them.
If the space between the buttons is narrow and it is difficult to press both buckles, you can rotate the button to reposition the buckles or use a tool to push the buckles out.
* Please be careful when using a tool as it may break the buckle.
* In the case of SANWA OBSF and OBSC buttons, the buckle may harden and break somewhat easily after a period of time after installation.
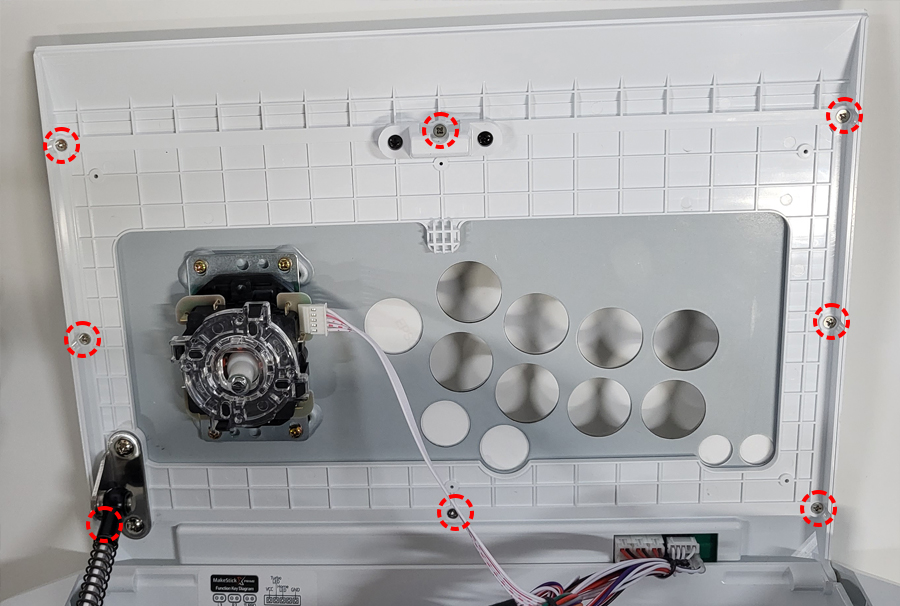
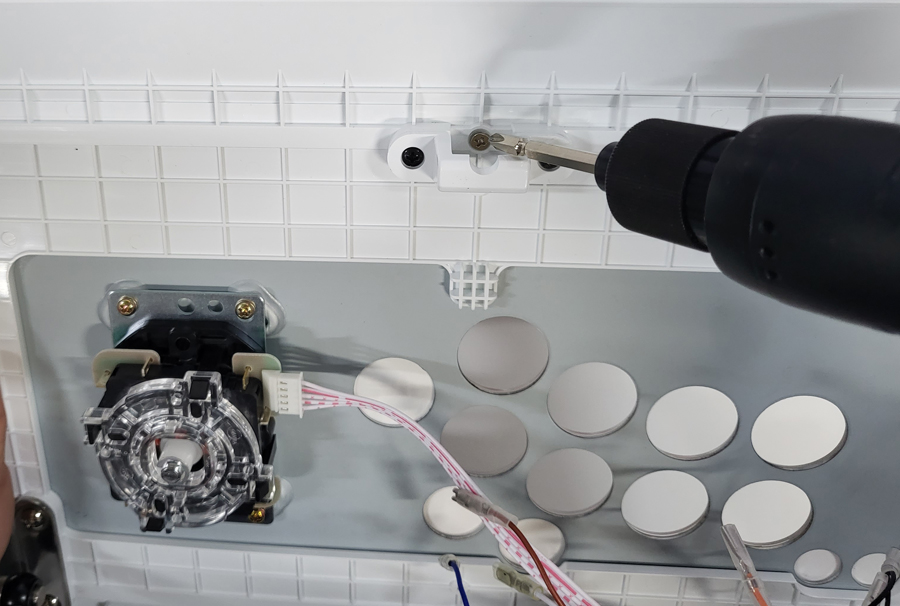
Check the eight screws holding the square frame that secures the top panel.
Use a Phillips screwdriver to remove the eight screws.
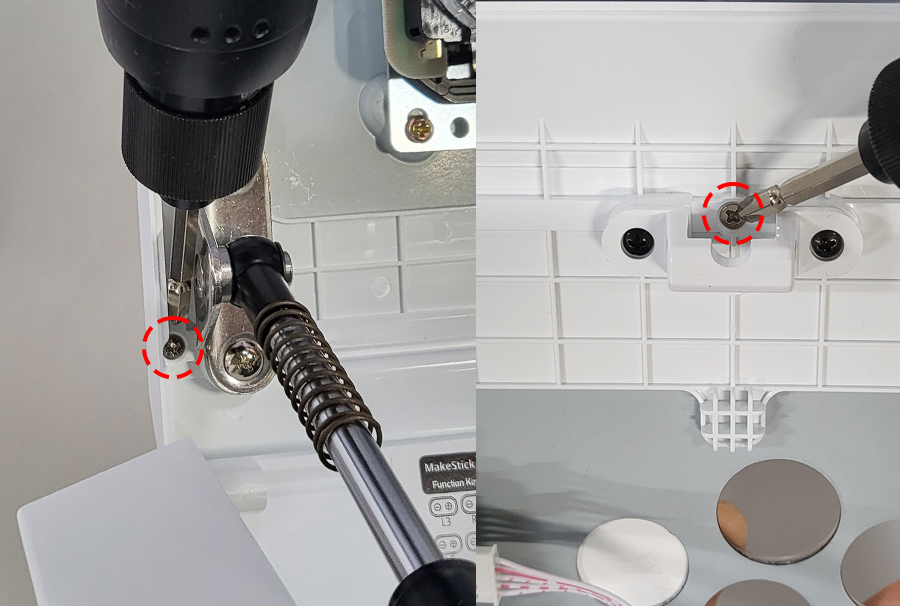
Once all screws are removed, use a pointed tool to gently push the corners of the frame from the inside to the outside.
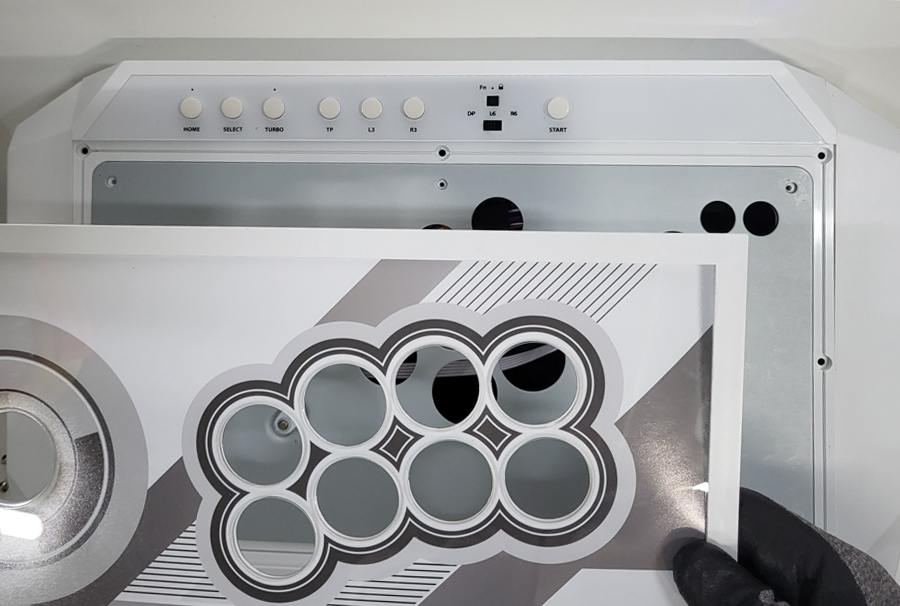
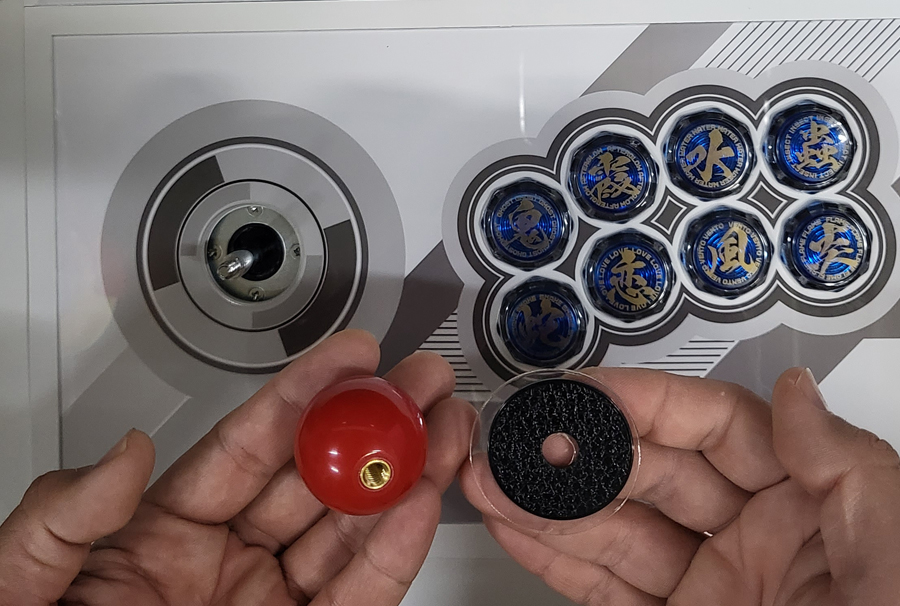
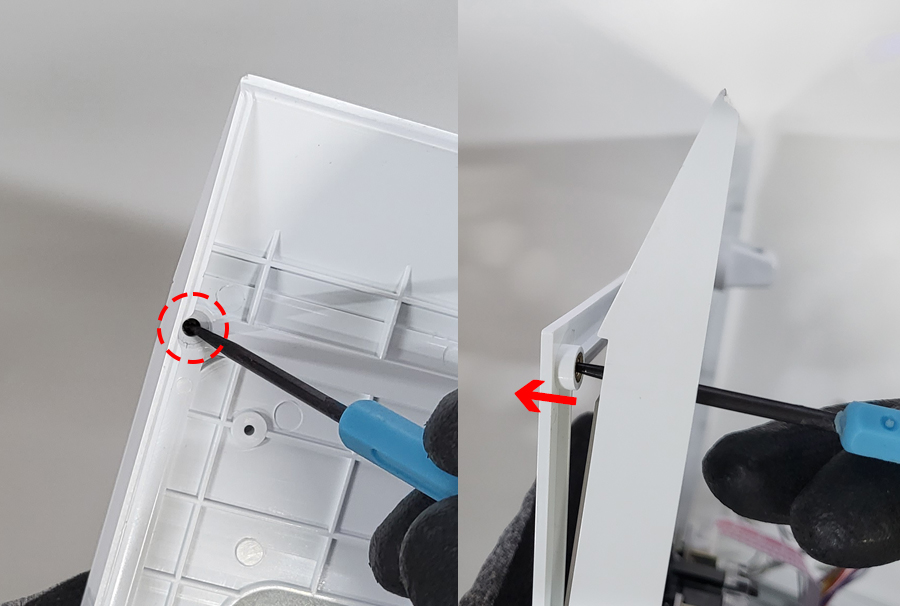
Remove the square frame, Flexi, and the artwork.

Place the new artwork sheet on the metal plate and cover it again with the Flexi.
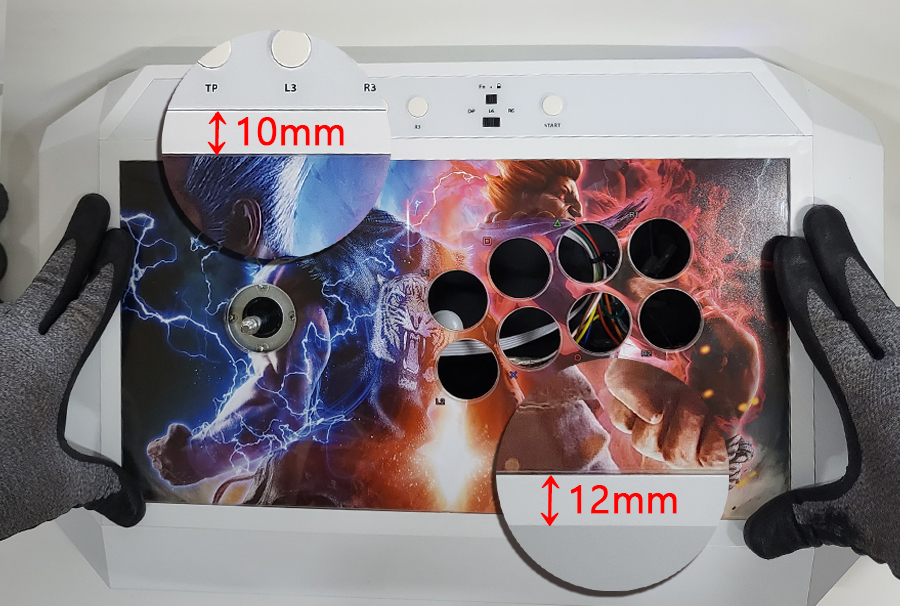
The vertical lengths of the top and bottom edges differ, so make sure to assemble it in the correct orientation. The top edge is 10mm in height, while the bottom edge is 12mm.
Secure the square frame back in place according to its shape.
Use the previously removed screws to secure the frame back in place.
Before tightening the screws, press the square frame down firmly with your hand to ensure it is flush.
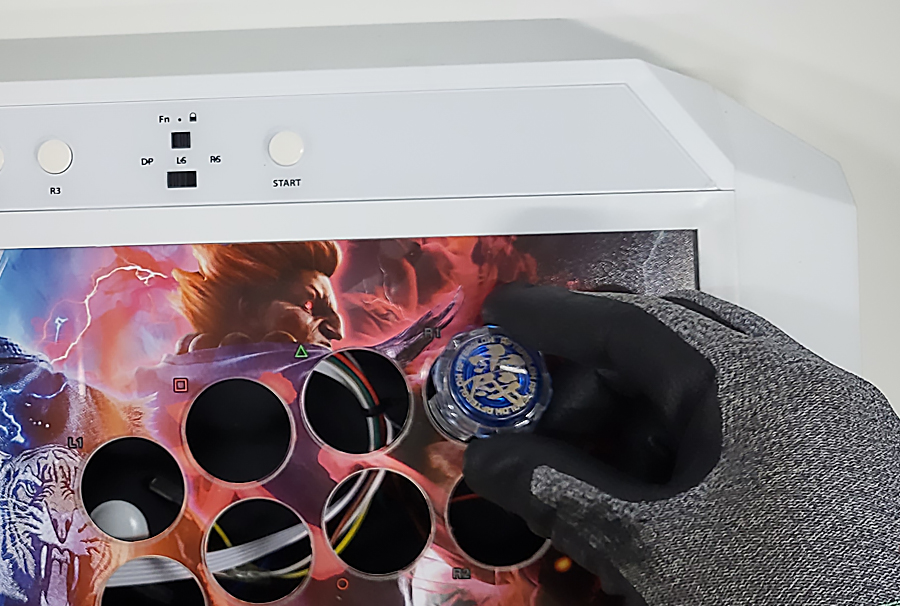
Install the buttons.

For screw-type buttons, rotate the nut clockwise to tighten securely.
For Samducksa screw-type buttons, it's recommended to use a tool like needle-nose pliers to tighten securely, as tightening by hand might cause them to come loose.
Insert the dust washer onto the shaft, then assemble the lever handle onto the shaft.
For Fanta Lever, you can skip this step.
Use the same technique as when removing the handle: hold the lever handle with one hand while turning the screwdriver.
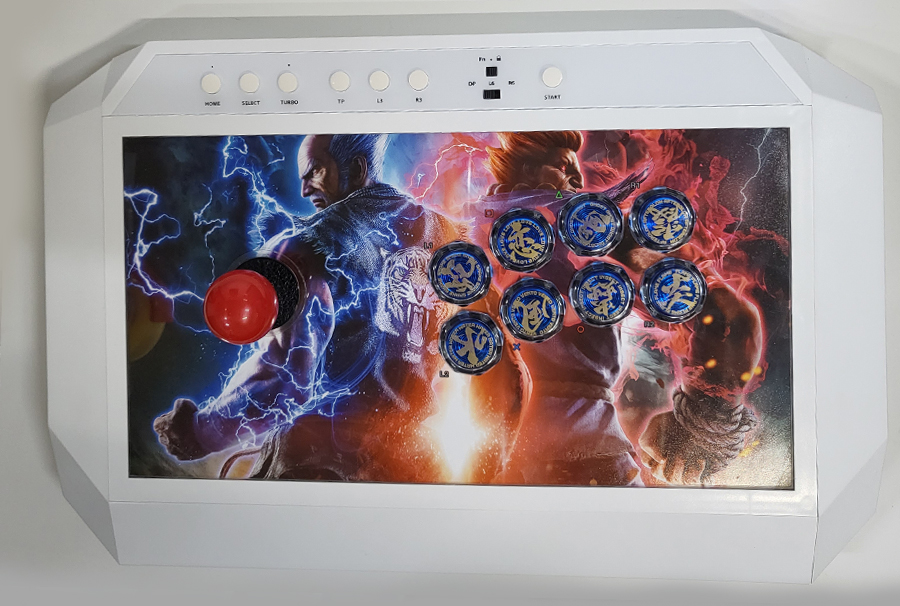
The MakeStick X Prime artwork replacement is now complete!


