


Option
- Body Color :
- Handle Color :
Total Purchase Amount:
$0




ISTMALL · SANJUKS LEVER
SANJUKS V6-ST · Korean Lever
Built on the V6 design.
Refined for easier installation and maintenance.
Color options — Choose a Metal Red or Metal Violet body, paired with a Capsule Black or Capsule White grip.
Standard configuration — The V6-ST comes with a low-profile collar, circular guide, and Samducksa 20-tension grommet.
Part compatibility — Compatibility differs between shafts, guides, and bobbins. V7 bobbins are not compatible; see the table below.
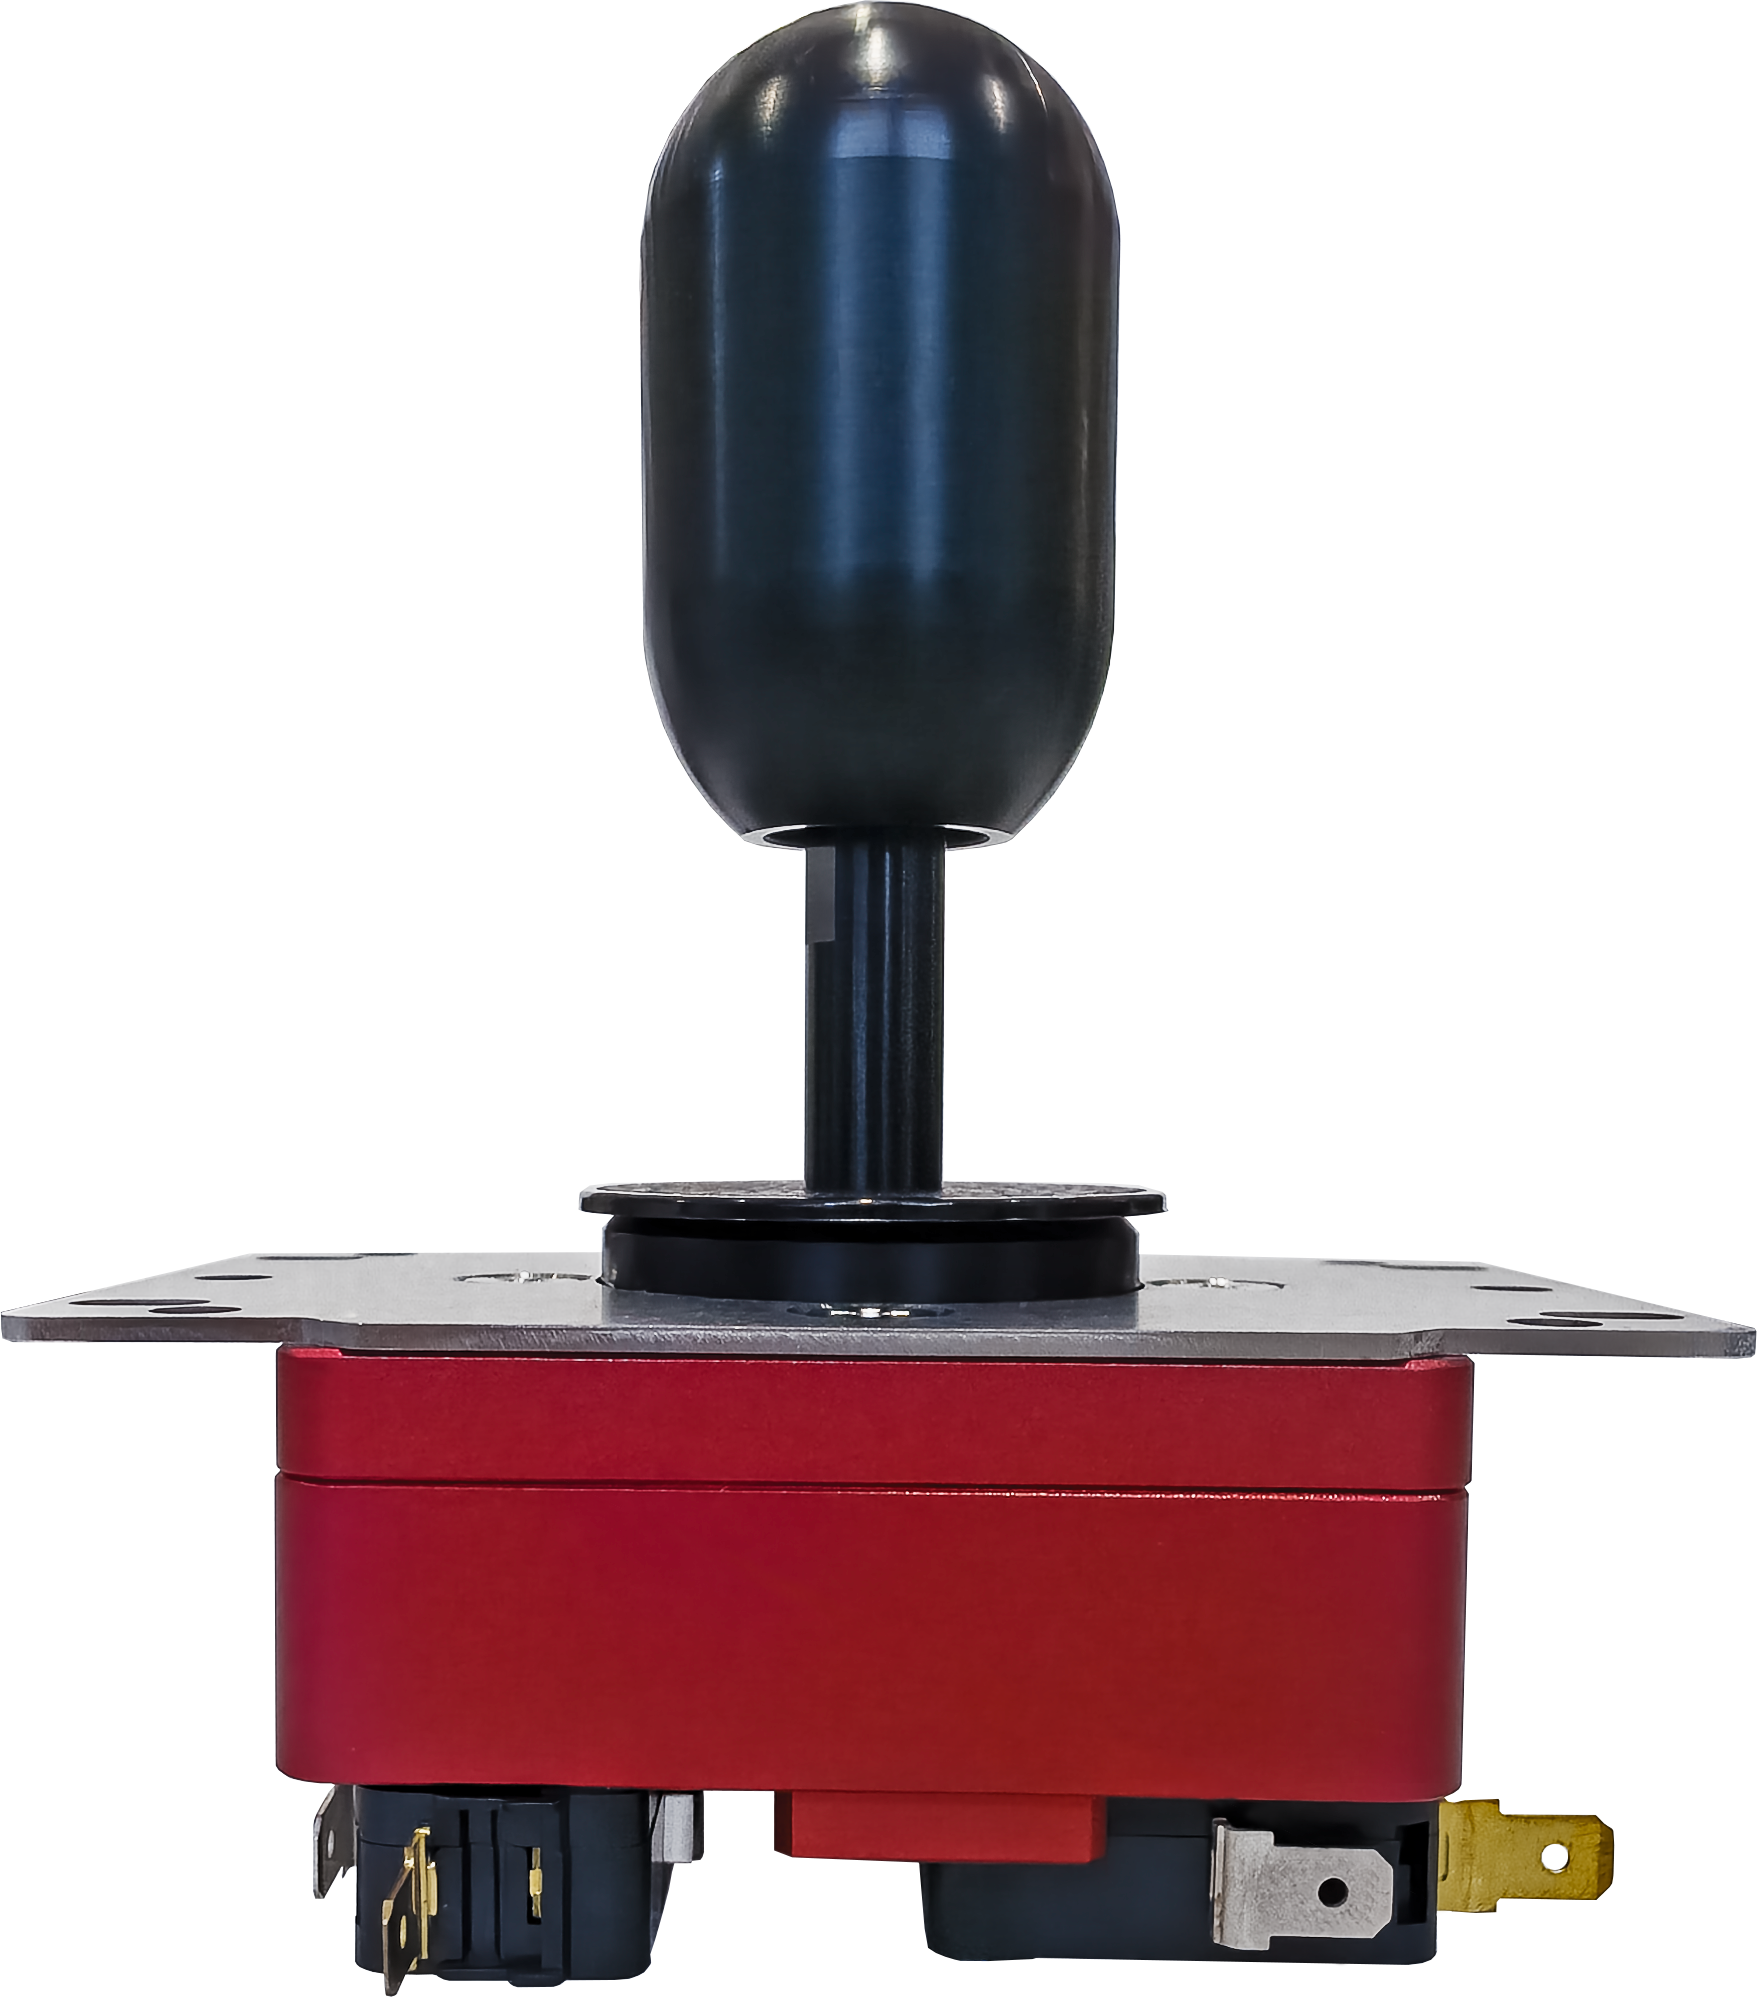
Shown with a Metal Red body and Capsule Black grip. Your lever will be supplied in the body and grip colors selected when ordering.
01 · SANJUKS V6-ST
The SANJUKS V6-ST refines the V6 design with changes to the lower assembly, switch positions, and housing. These updates consider the space inside arcade stick cases and make grommet replacement and inspection easier.
According to the product listing, the actuator area is 1.6 mm lower and the lower housing is 3 mm lower. These changes provide more clearance in smaller cases. Before installation, check the available space for the lower shaft, terminals, and wiring as well.
The switch mounting positions have been adjusted to slightly reduce the lever’s operating range. This refines the actuation positions and feel. The difference you feel can vary with the grommet and component combination.
The upper section attached to the mounting plate can be separated from the lower section holding the switches, making grommet replacement and internal component inspection easier. Disconnect power before disassembly and record the order of the screws and components.
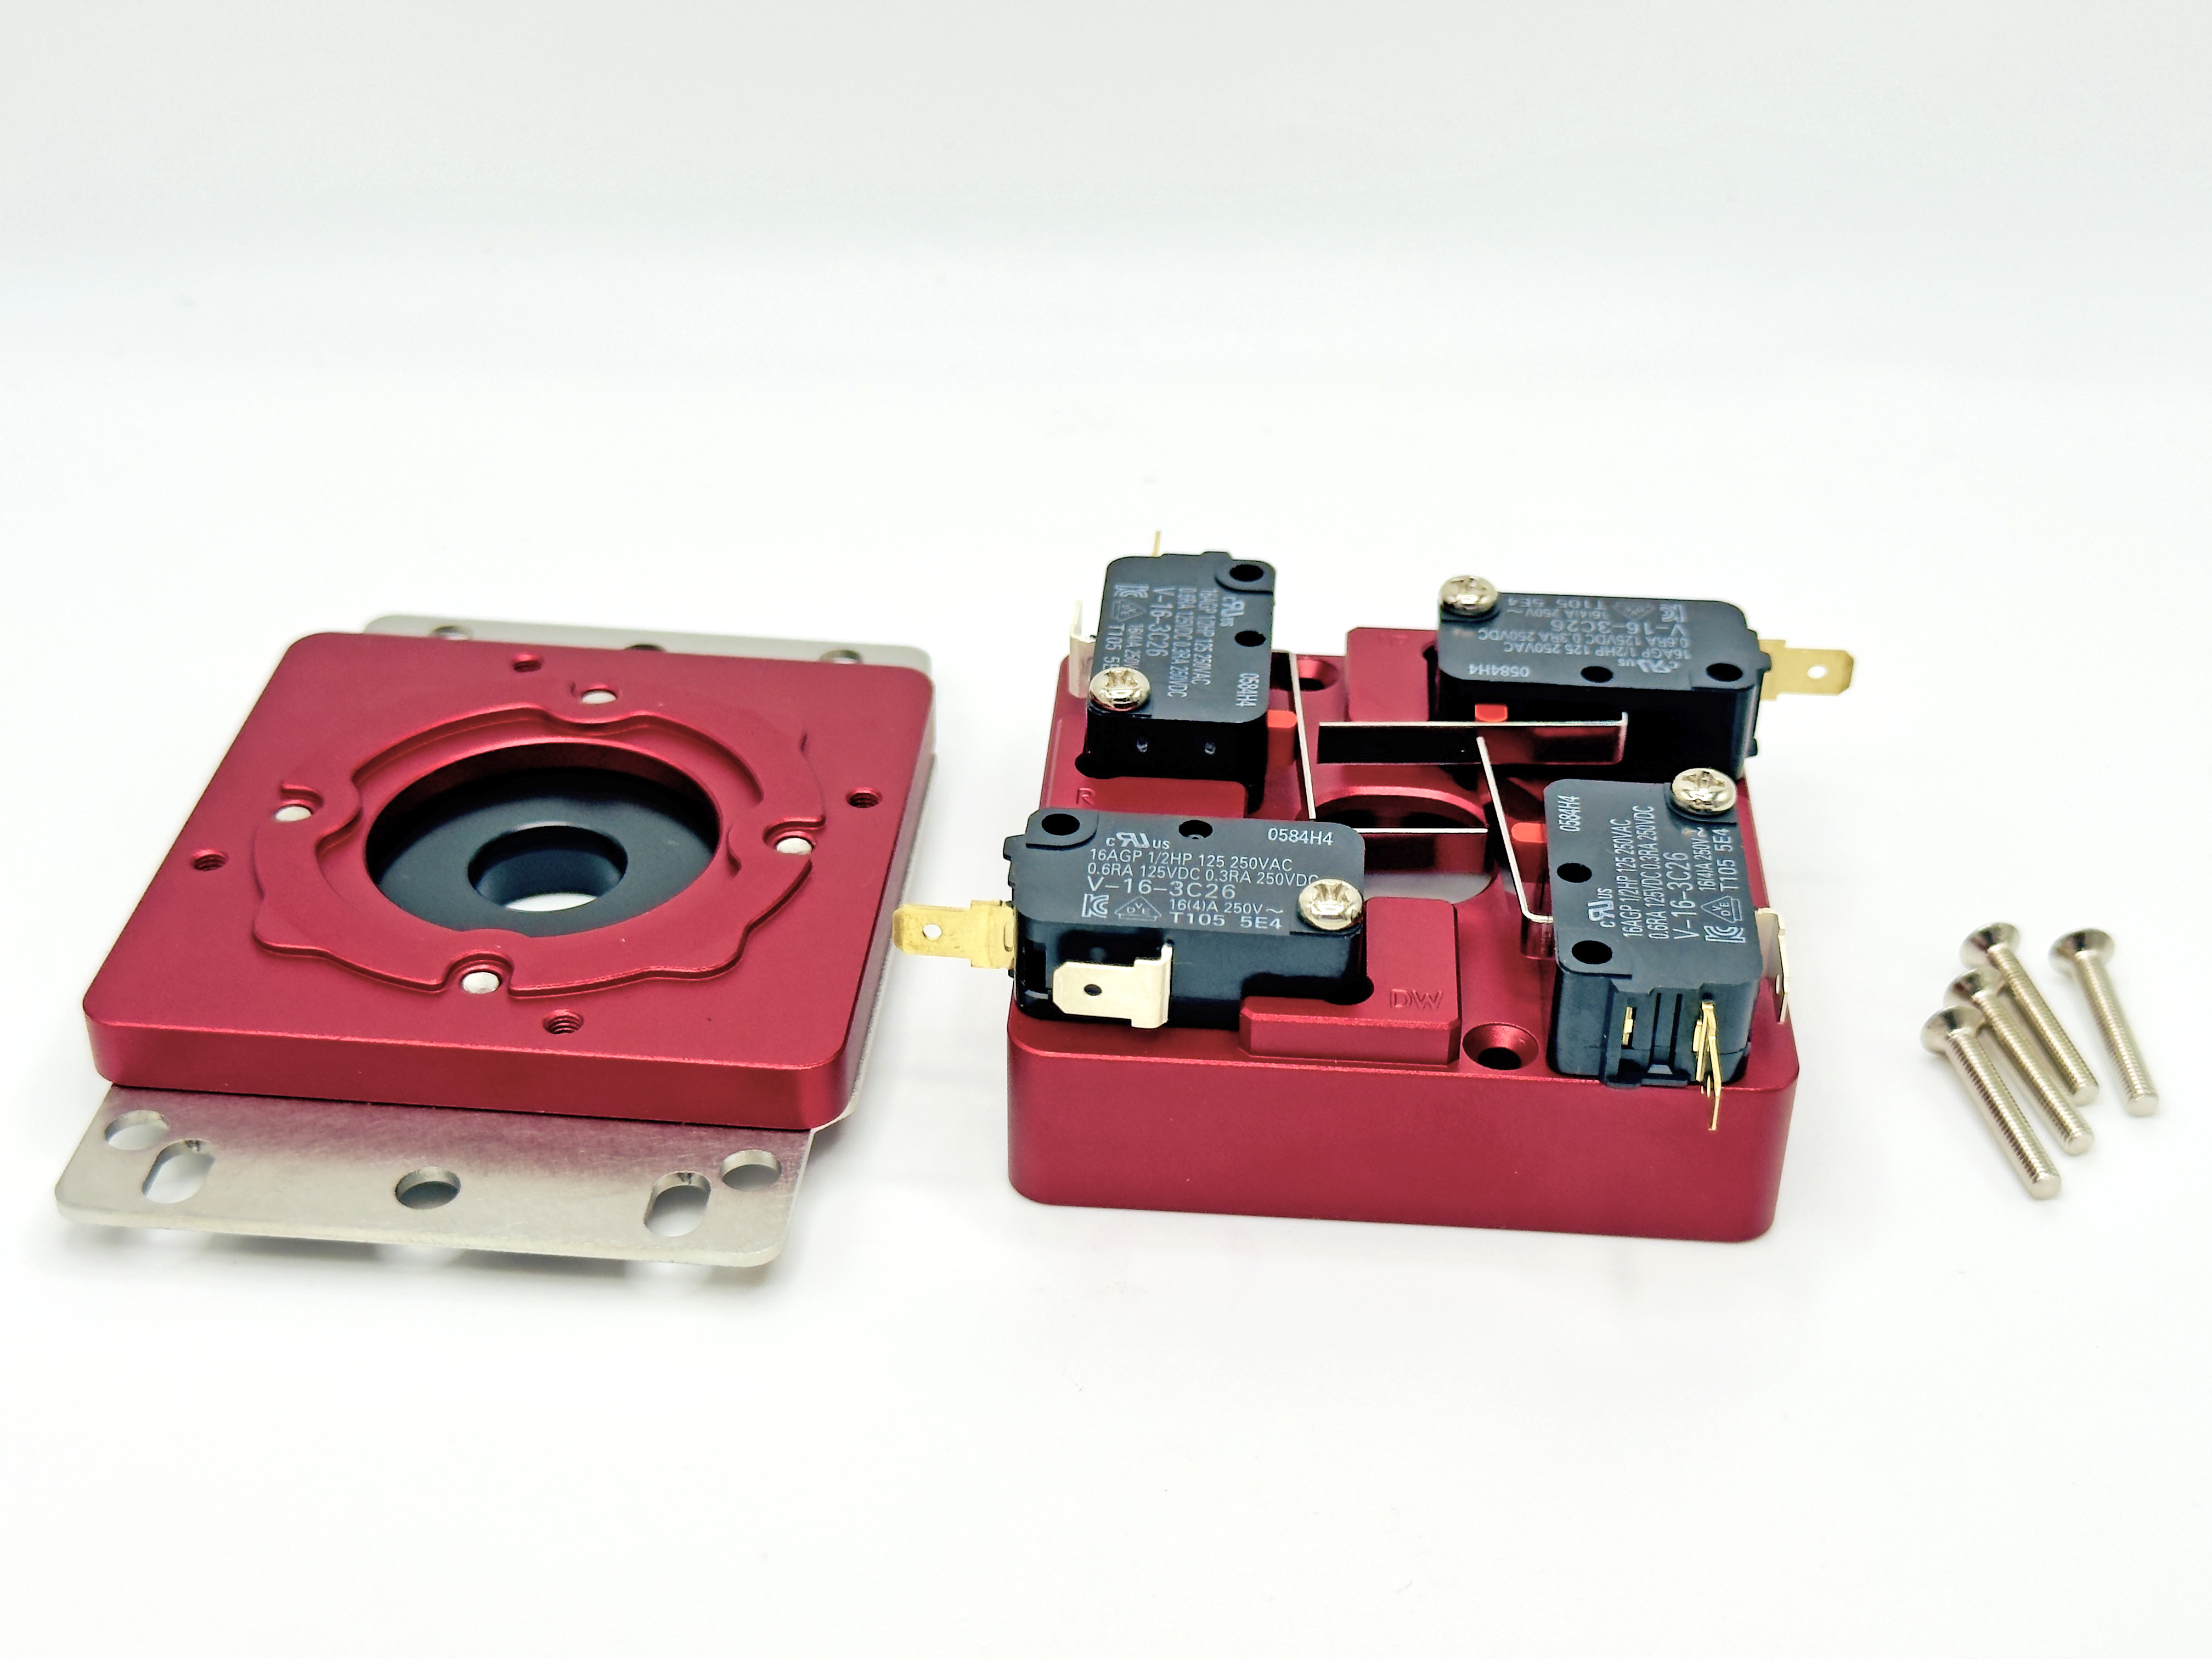
The upper and lower sections are shown separated. Note the positions of the mounting screws and internal components as you work.
The upper housing is made of aluminum, improving its construction and finish. The photo shows the metal housing and low-profile collar structure.
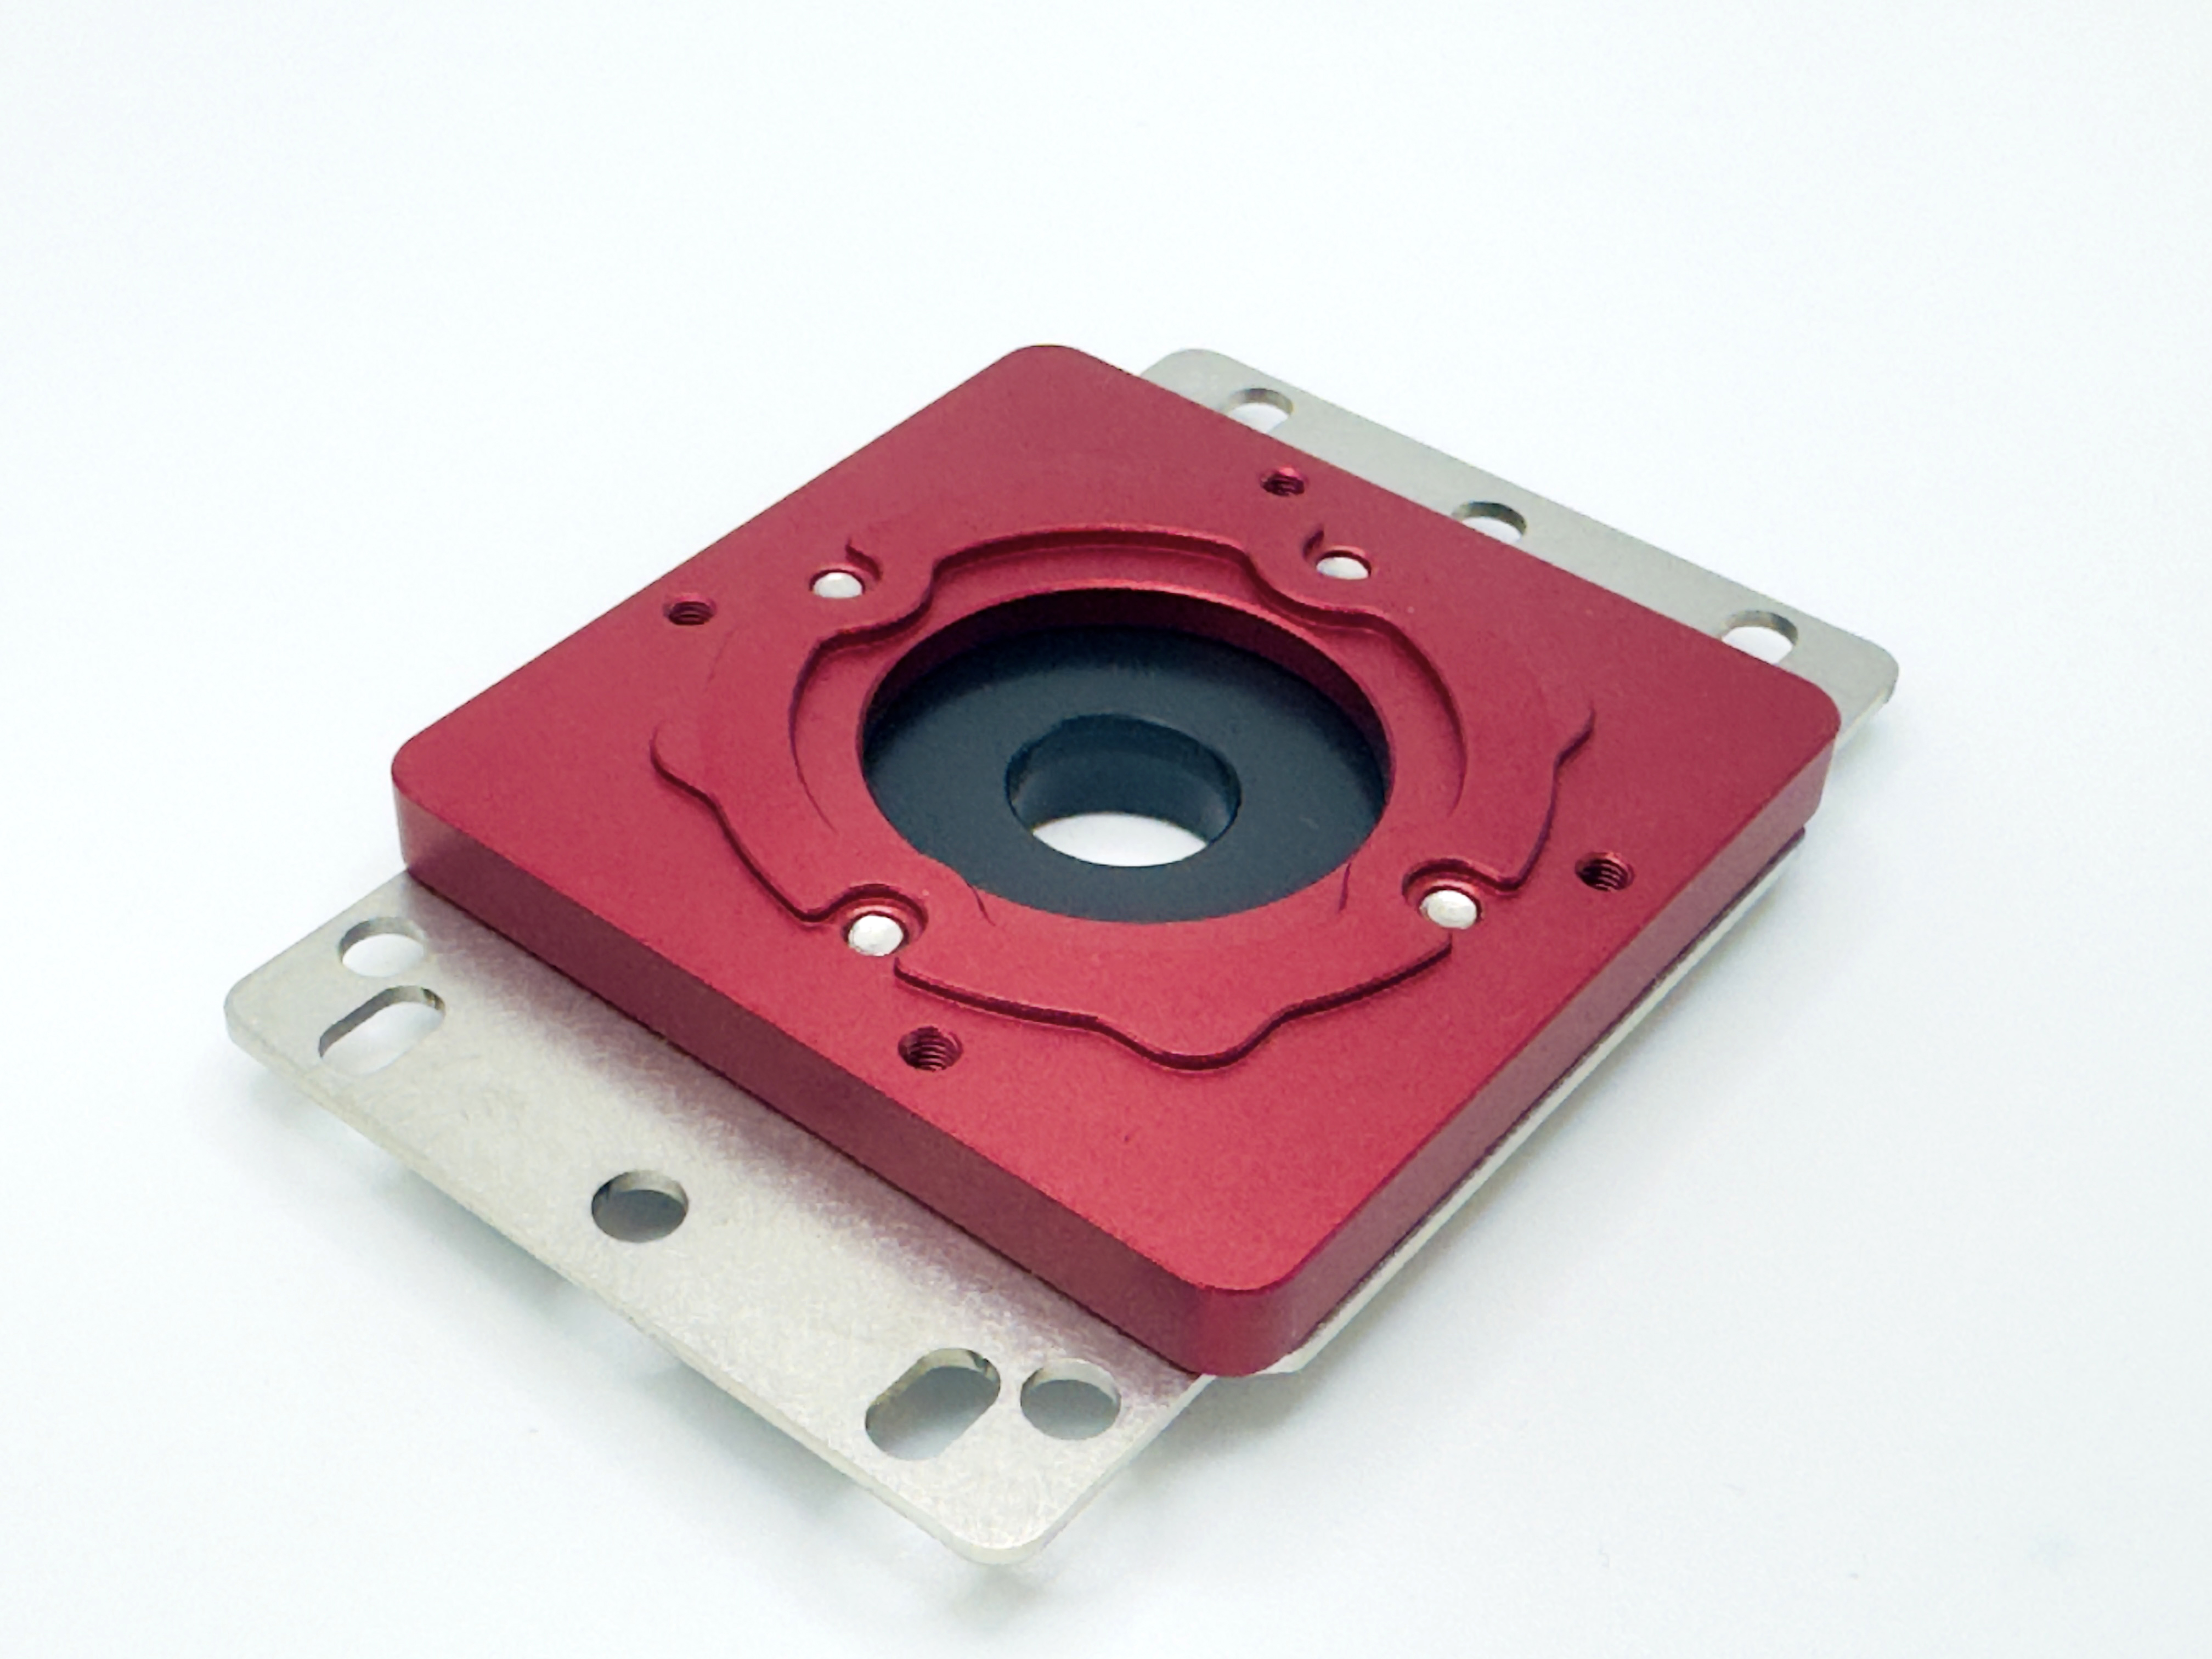
Aluminum upper housing attached to the mounting plate.
The lower housing includes a slotted window for checking the color of the internal grommet. It lets you identify the installed grommet’s color from the outside.
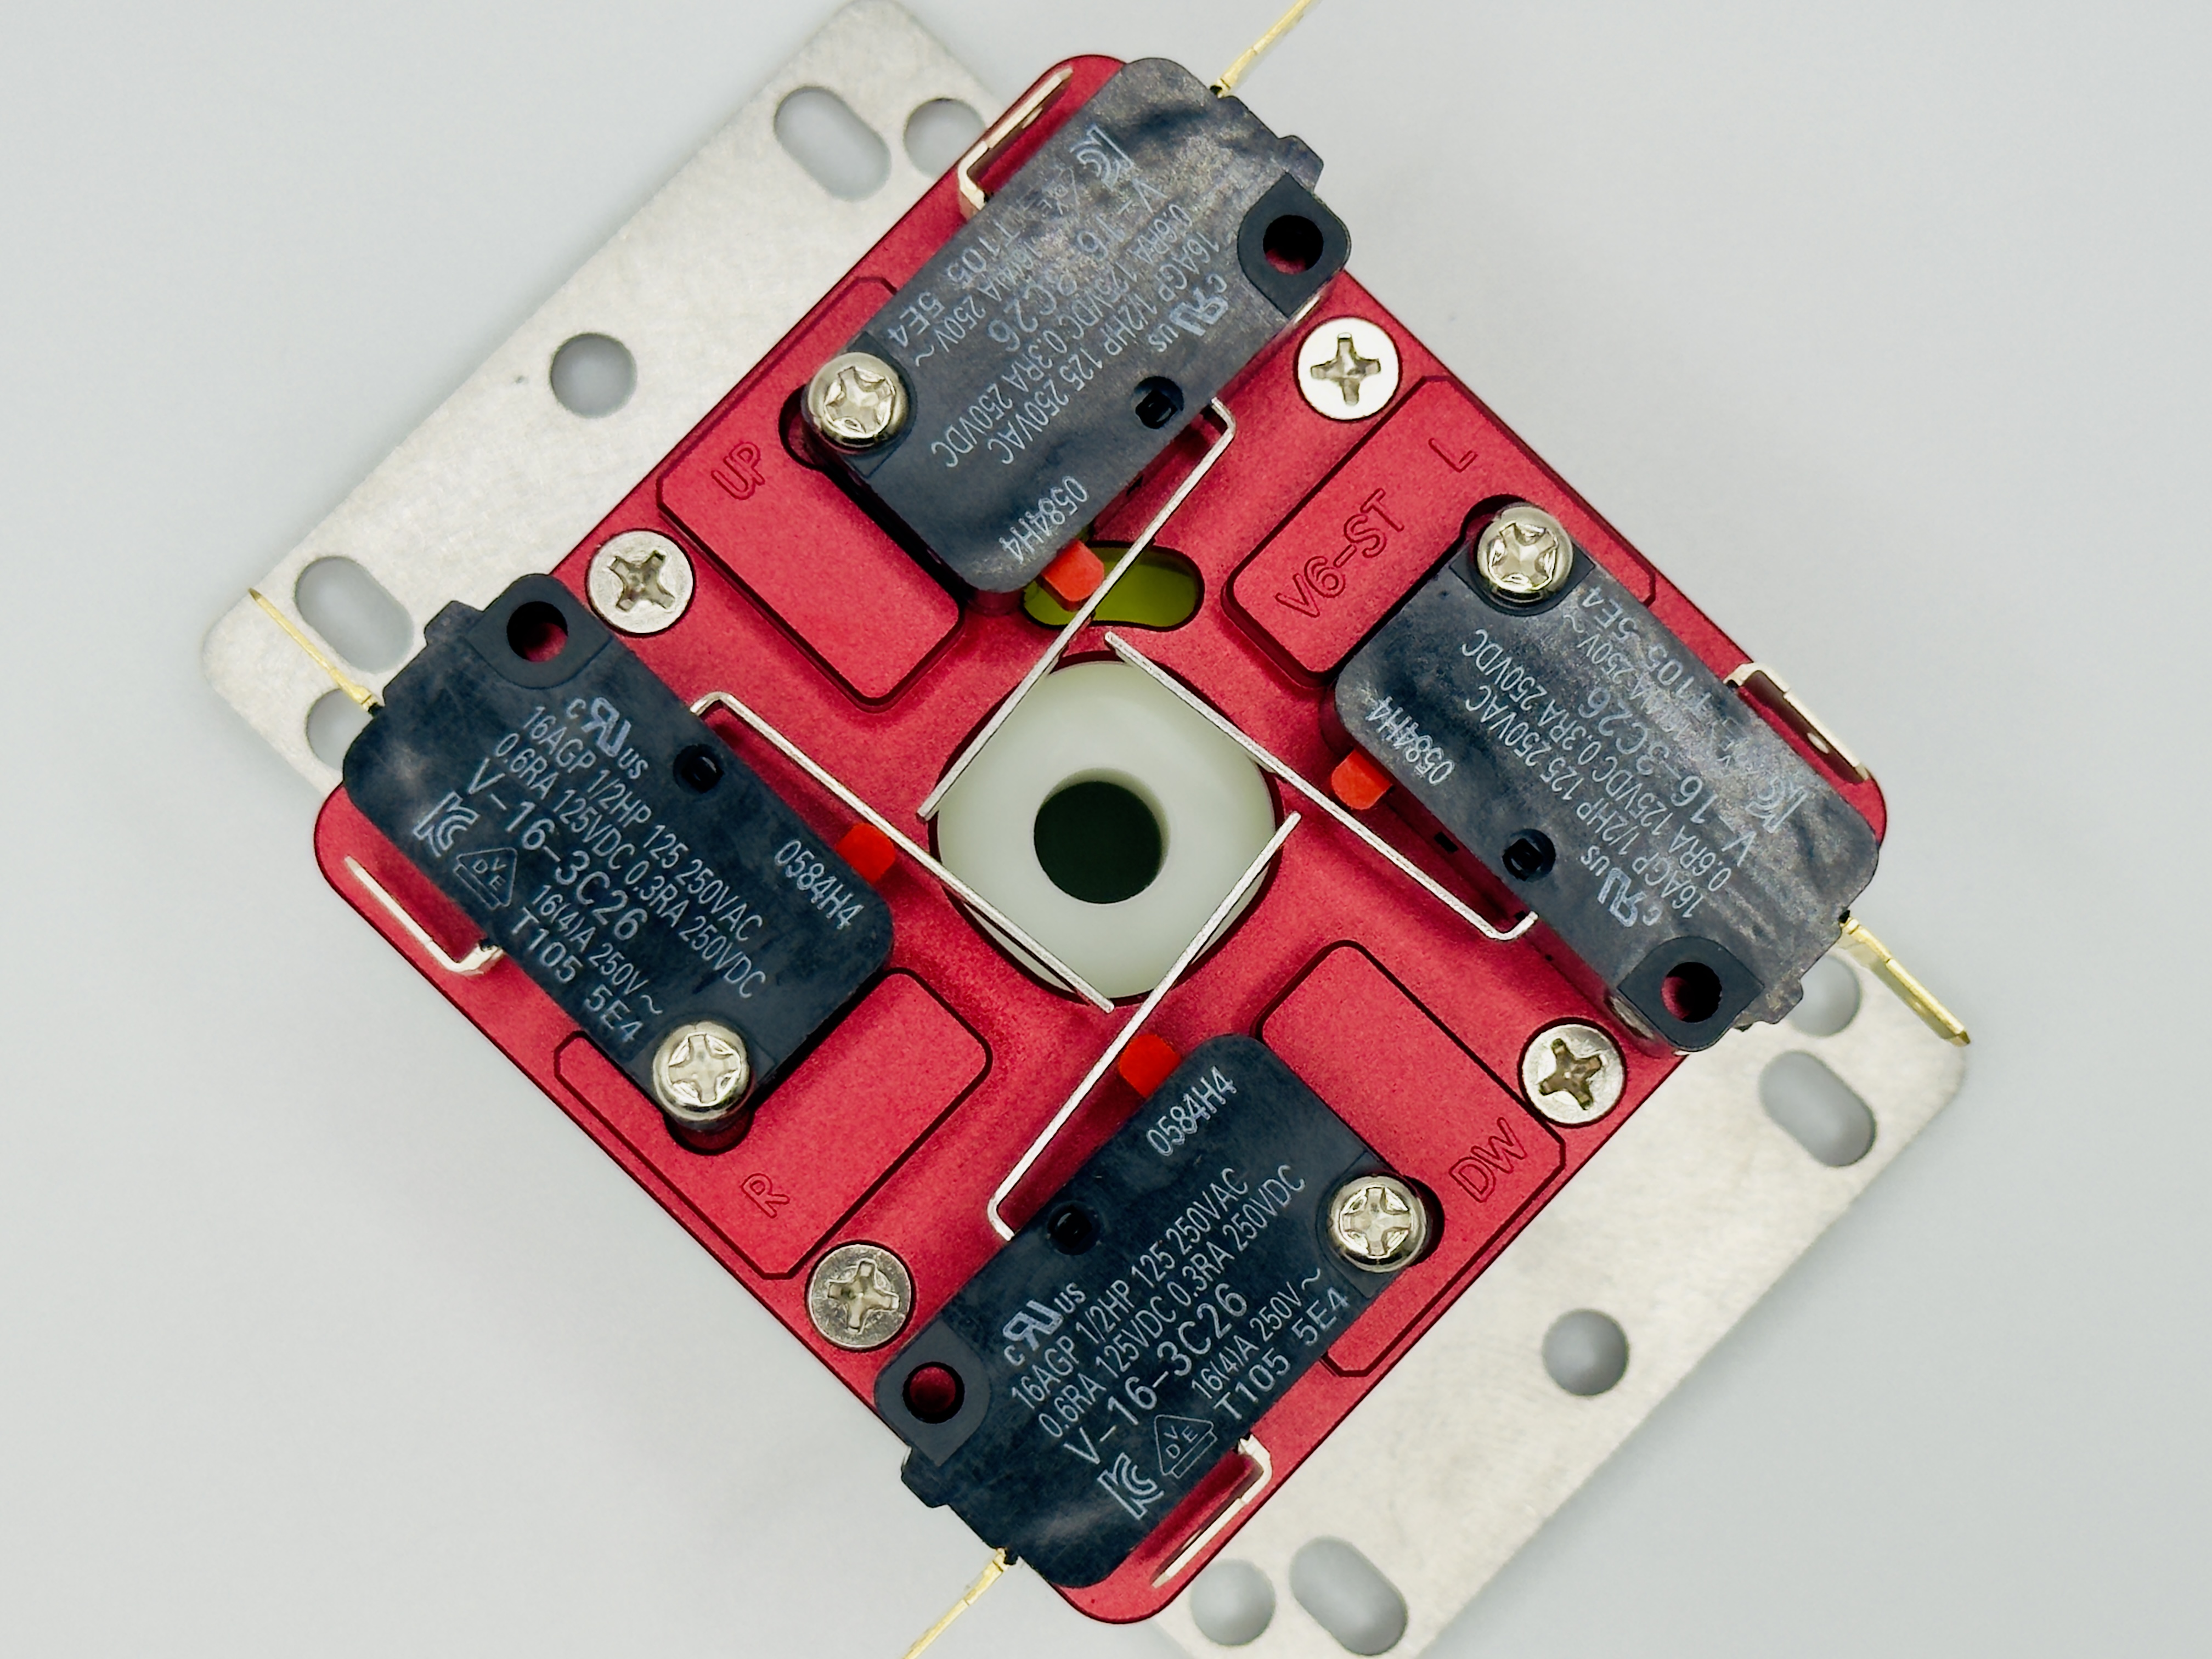
The small inspection window underneath reveals the color of the internal grommet.
02 · SANJUKS V6-ST
| Option | Available Choices |
|---|---|
| Body color | Metal Red / Metal Violet |
| Grip color | Capsule Black / Capsule White |
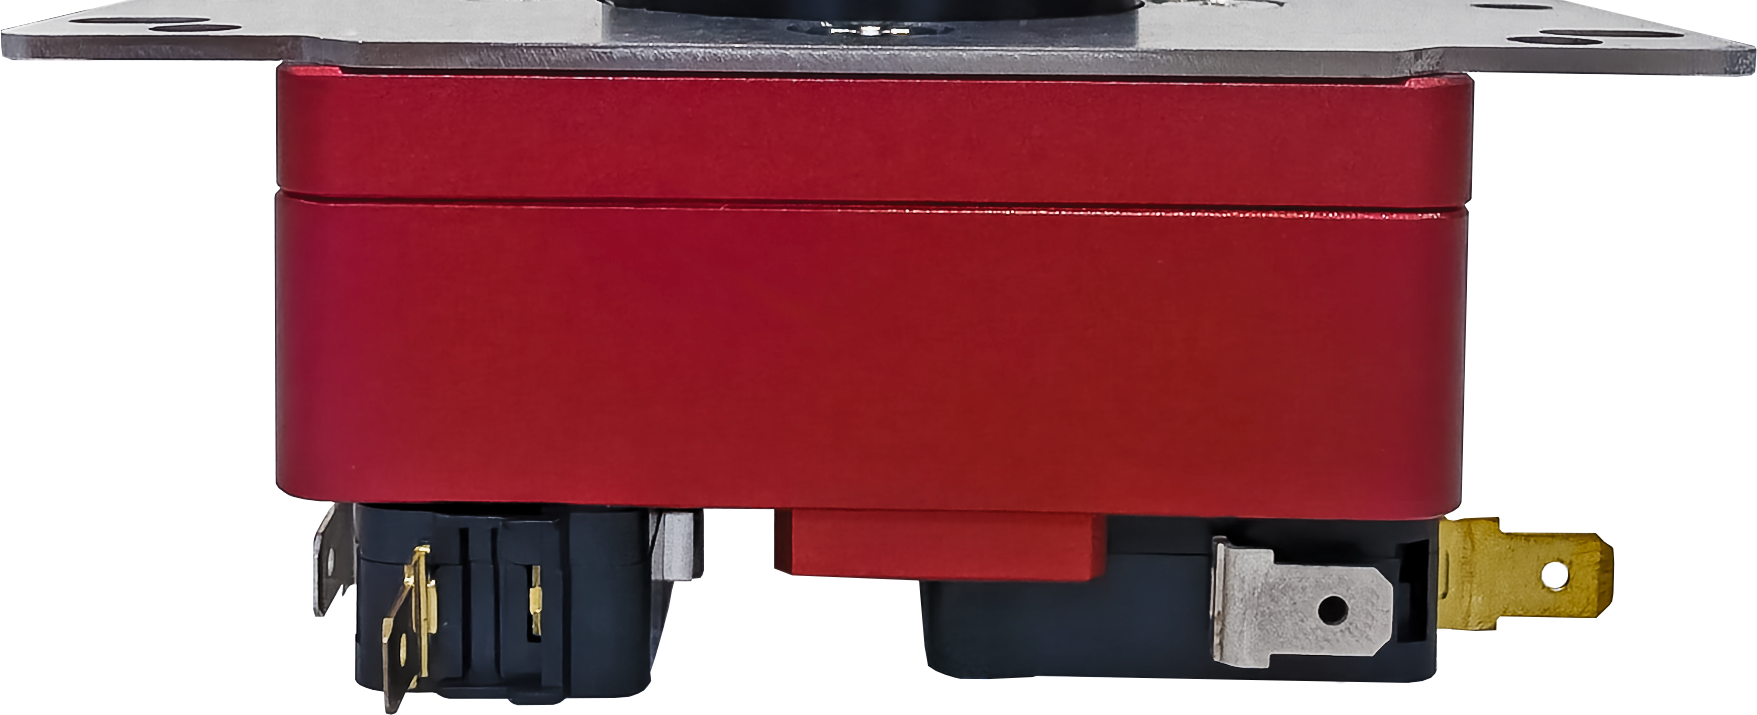
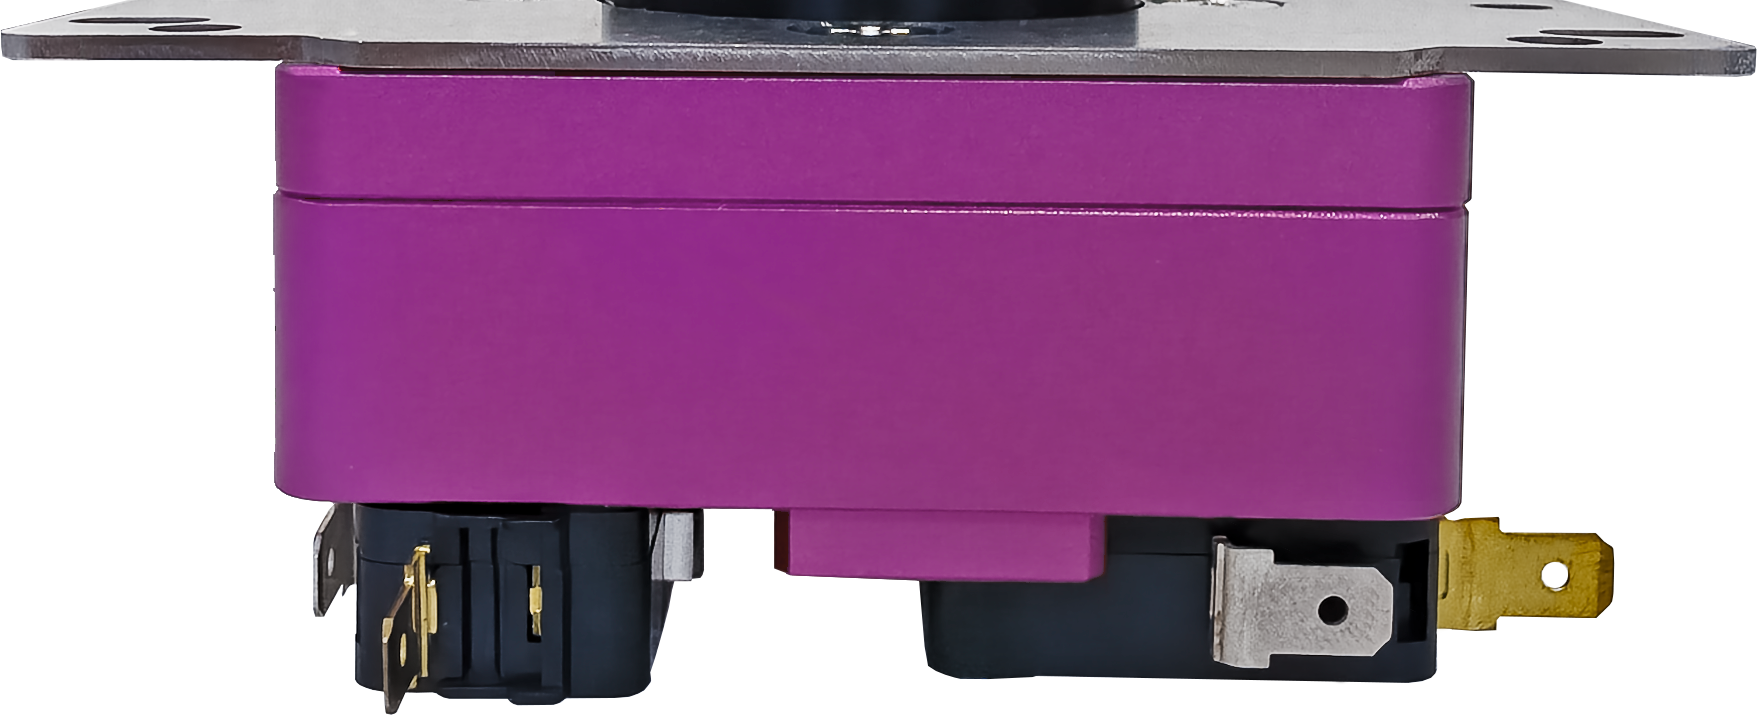
| Metal Red | Metal Violet |
|---|---|
|
|
Metal Red and Metal Violet bodies shown for comparison. Actual color and gloss may vary depending on lighting and display settings.
| Capsule Black | Capsule White |
|---|---|
| 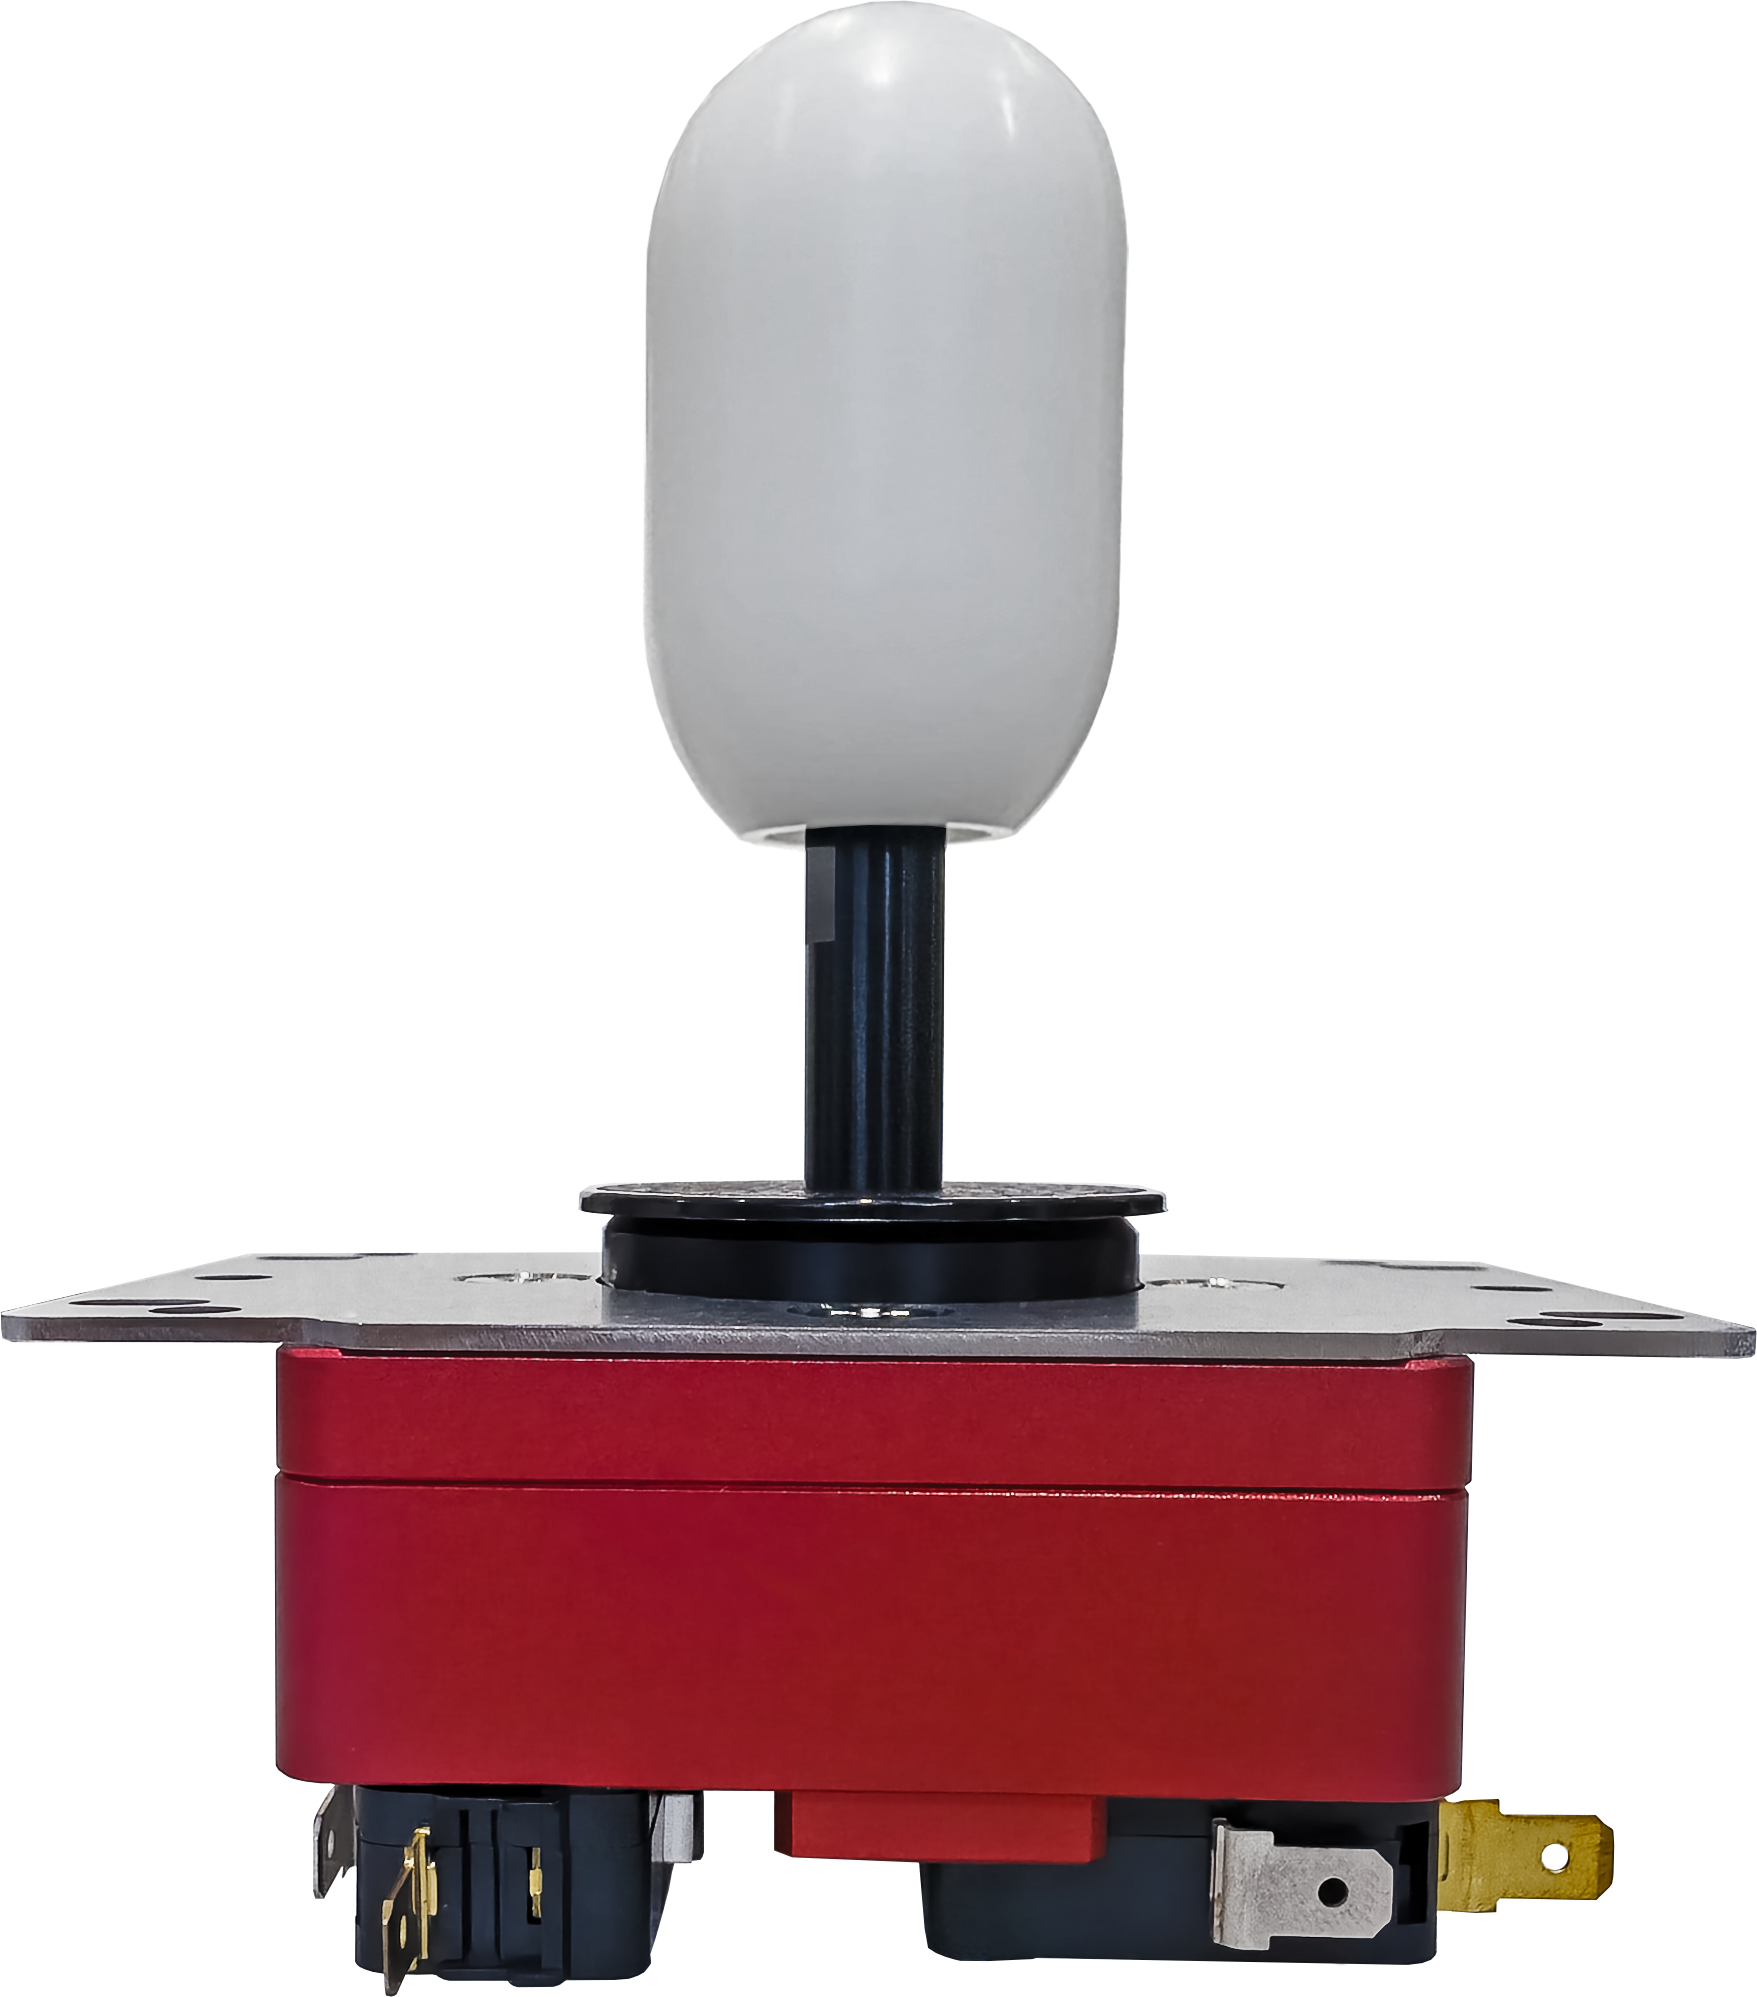 |
Grip comparison photos show a Metal Red body. Body and grip colors can be selected independently; one lever in your selected combination is supplied.
03 · SANJUKS V6-ST
A low-profile collar and circular guide are supplied as standard. The capsule grip, tension grommet, and microswitches work together to shape the lever’s feel.
The standard grommet is a yellow Samducksa 20-tension grommet. The product listing describes the feel as soft. Perceived resistance and return-to-center feel may vary by user and assembly condition.
Four Omron V-16-3C26 switches register the directional inputs. The photo shows the switch and actuator positions and the orientation of the terminals.
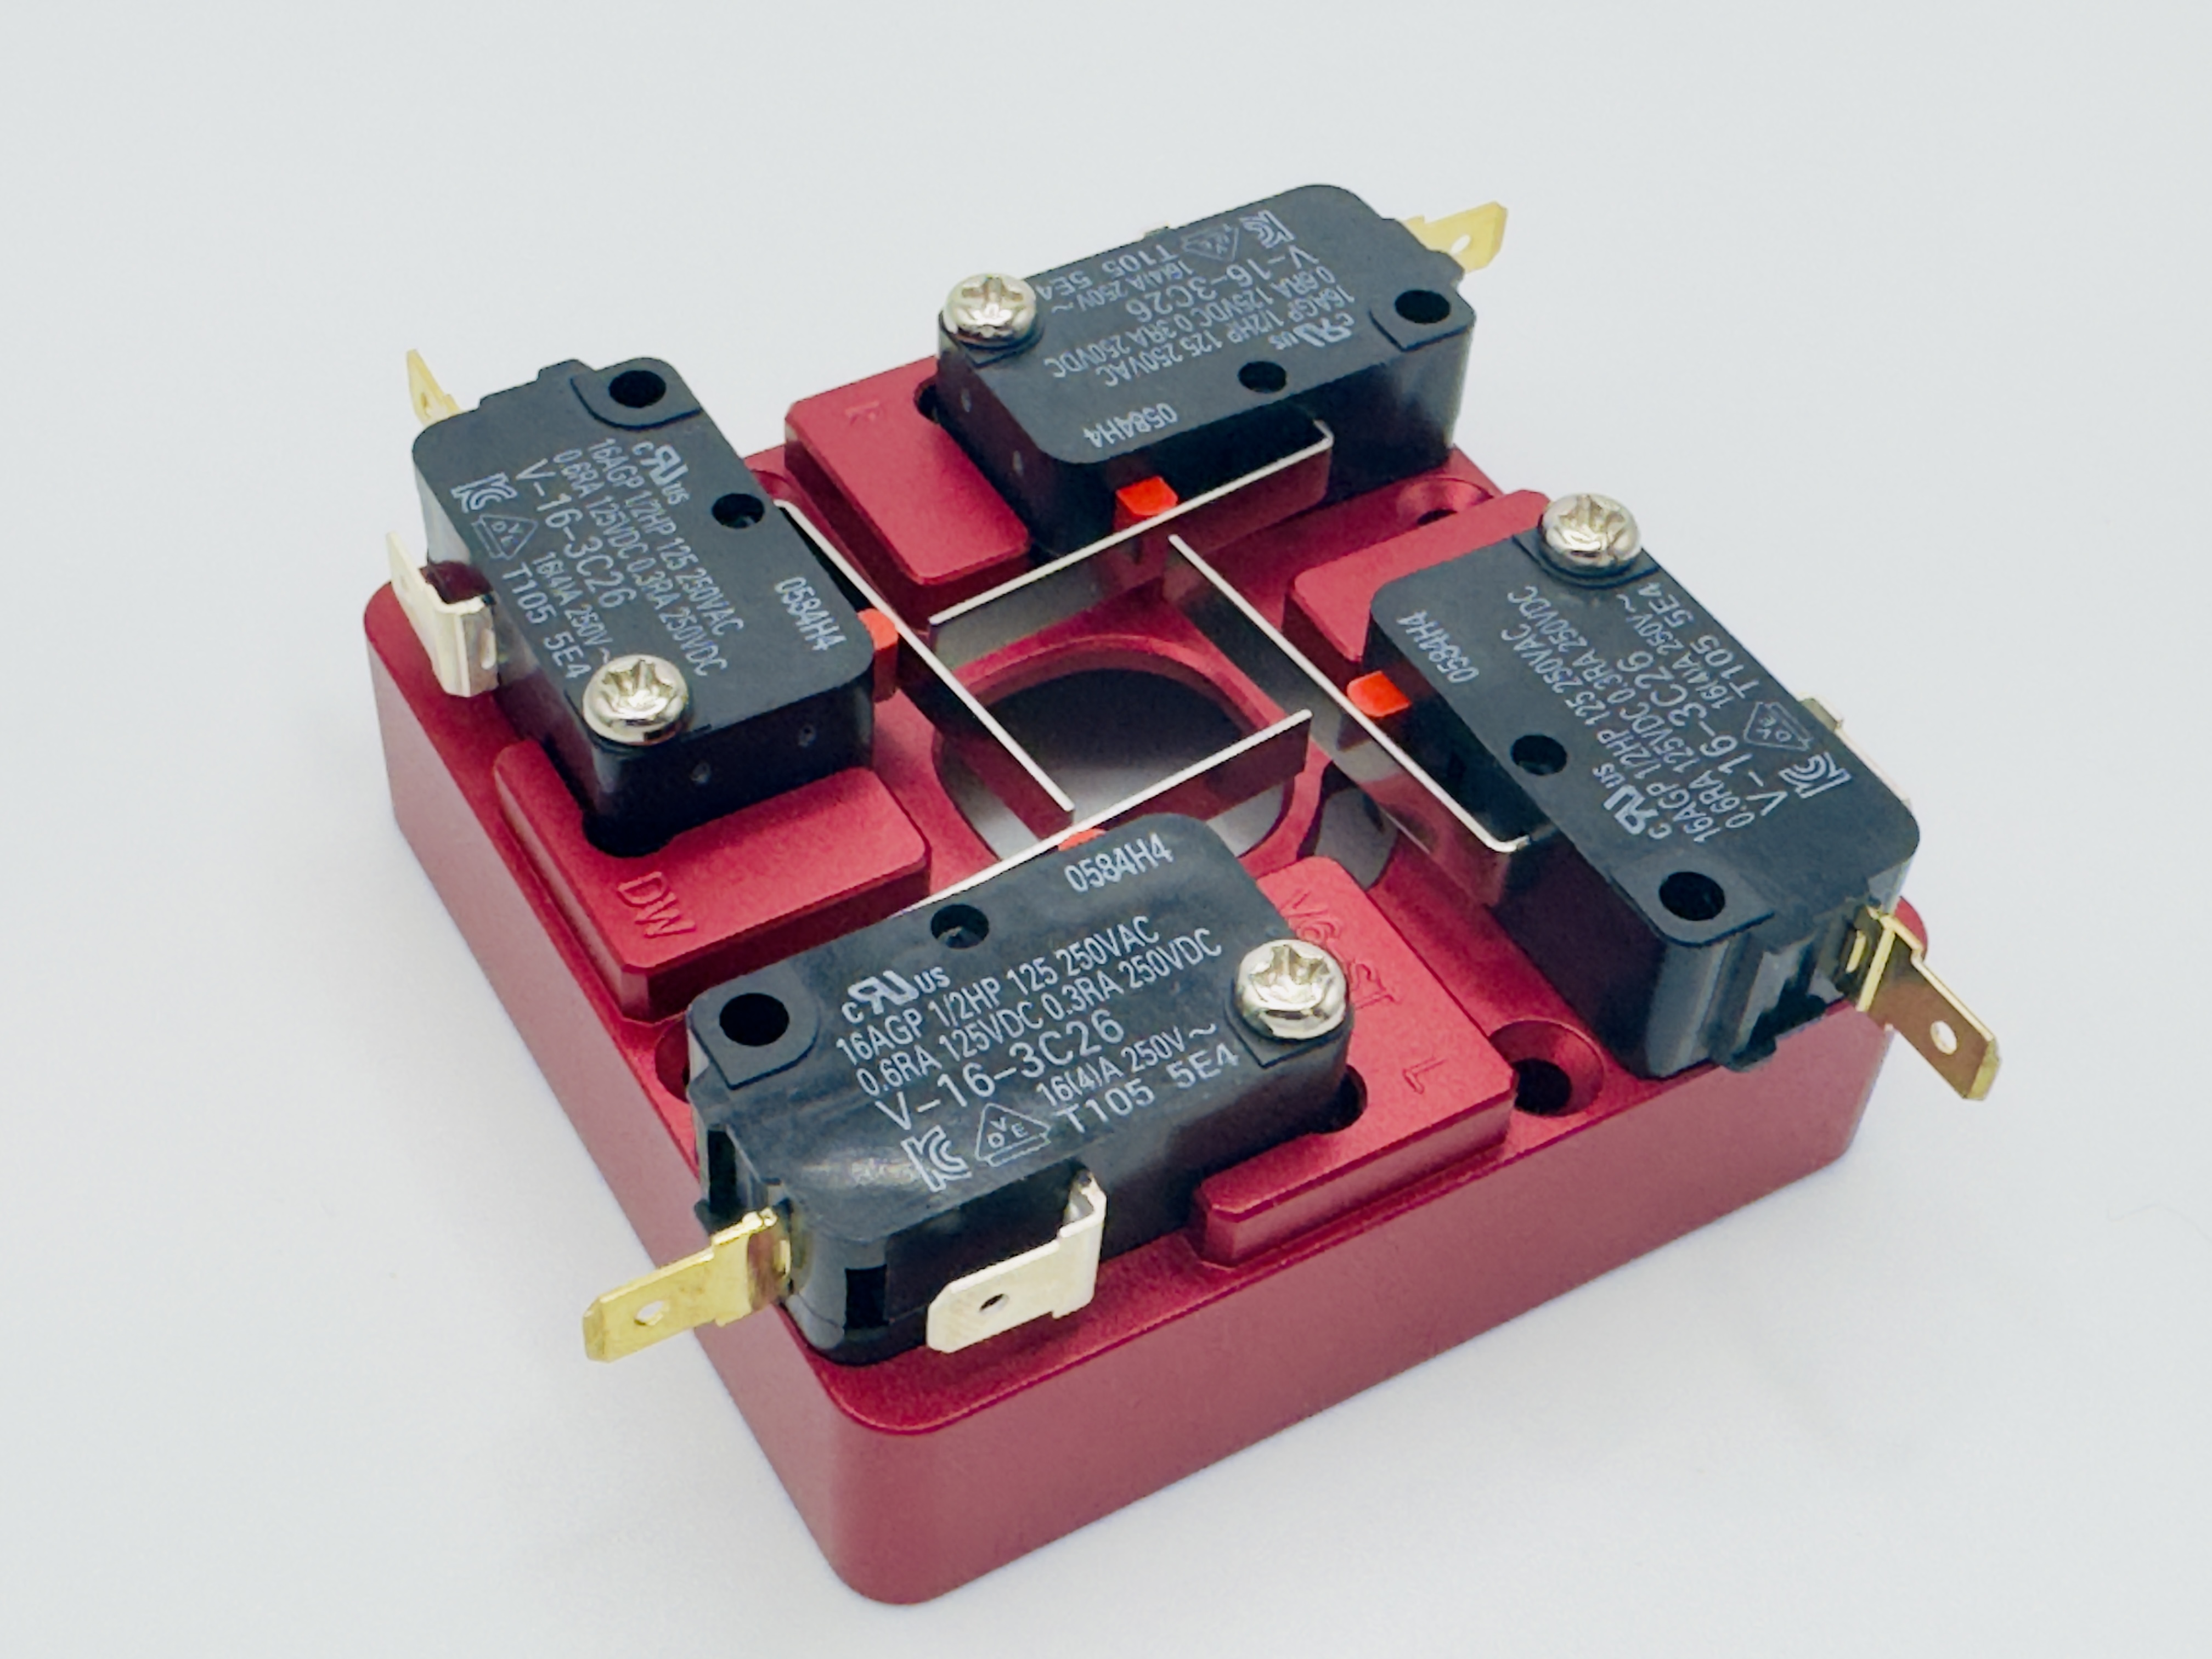
The lower assembly with its directional switches.
A 9 mm anodized aluminum shaft and a 15.2 mm actuator designed for the V6-ST are used. The lower assembly is secured with a bolt, so check the order and fastening of the bolt and washers during disassembly and reassembly.
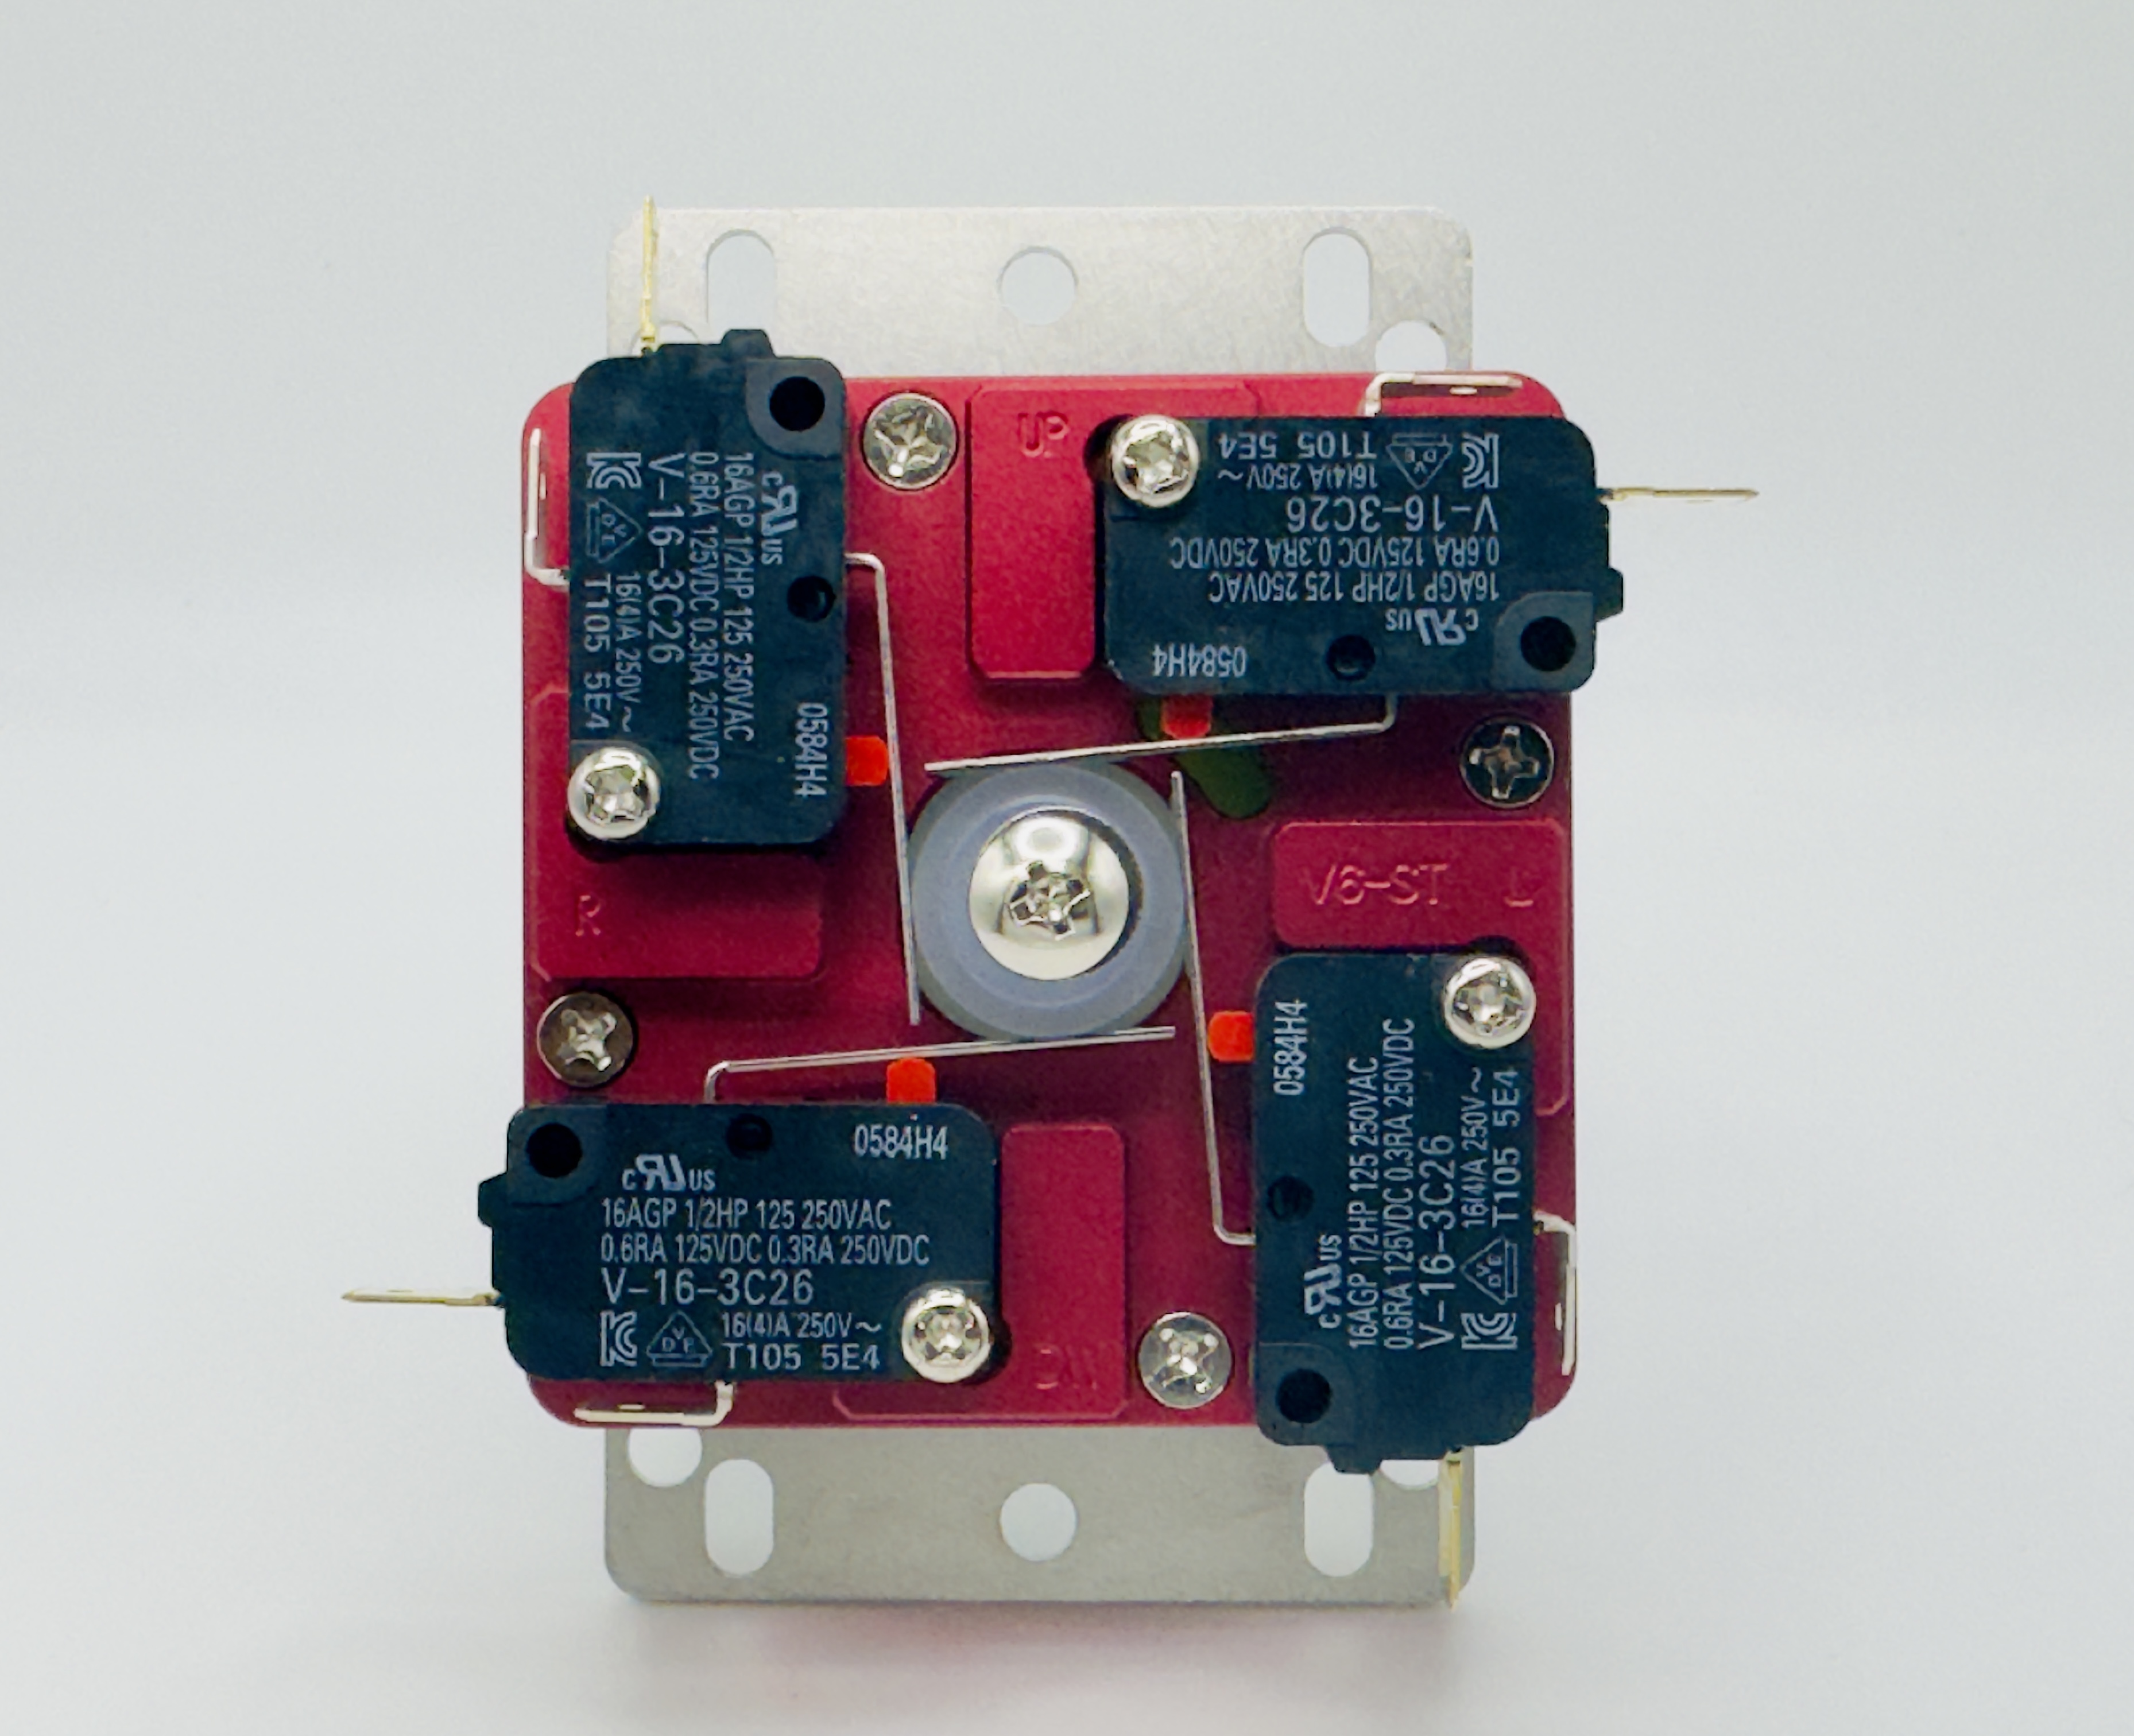
The central actuator and lower retaining bolt are visible here.
04 · SANJUKS V6-ST
To confirm fit, compare the panel opening, mounting hole positions, internal clearance, and wiring together. A lower-profile base does not guarantee compatibility with every case.
| Item | What to Check Before Installation |
|---|---|
| Panel opening | Make sure the low-profile collar and shaft can move without interference. |
| Mounting plate | MJ mounting plate · Identified as the SANJUKS V6 plate in the product listing |
| Plate dimensions | Dimensions shown in the product drawing: 95 × 65 mm · Compare mounting hole positions as well |
| Internal clearance | Allow room for the lower housing, shaft end, actuator, switch terminals, and wiring. |
| Connection | 8-pin wiring / .187 terminals · Check your existing PCB pinout |
The specified 1.6 mm and 3 mm reductions apply to different parts. Do not add them together as an overall height reduction. Compare the actual lever and case to confirm clearance.
If your existing arcade stick uses a 5-pin connector, a 5-pin-to-8-pin adapter harness with .187 connectors is required. Check the switch terminals and PCB pinout, and identify the common ground and directional signal wires before connecting.
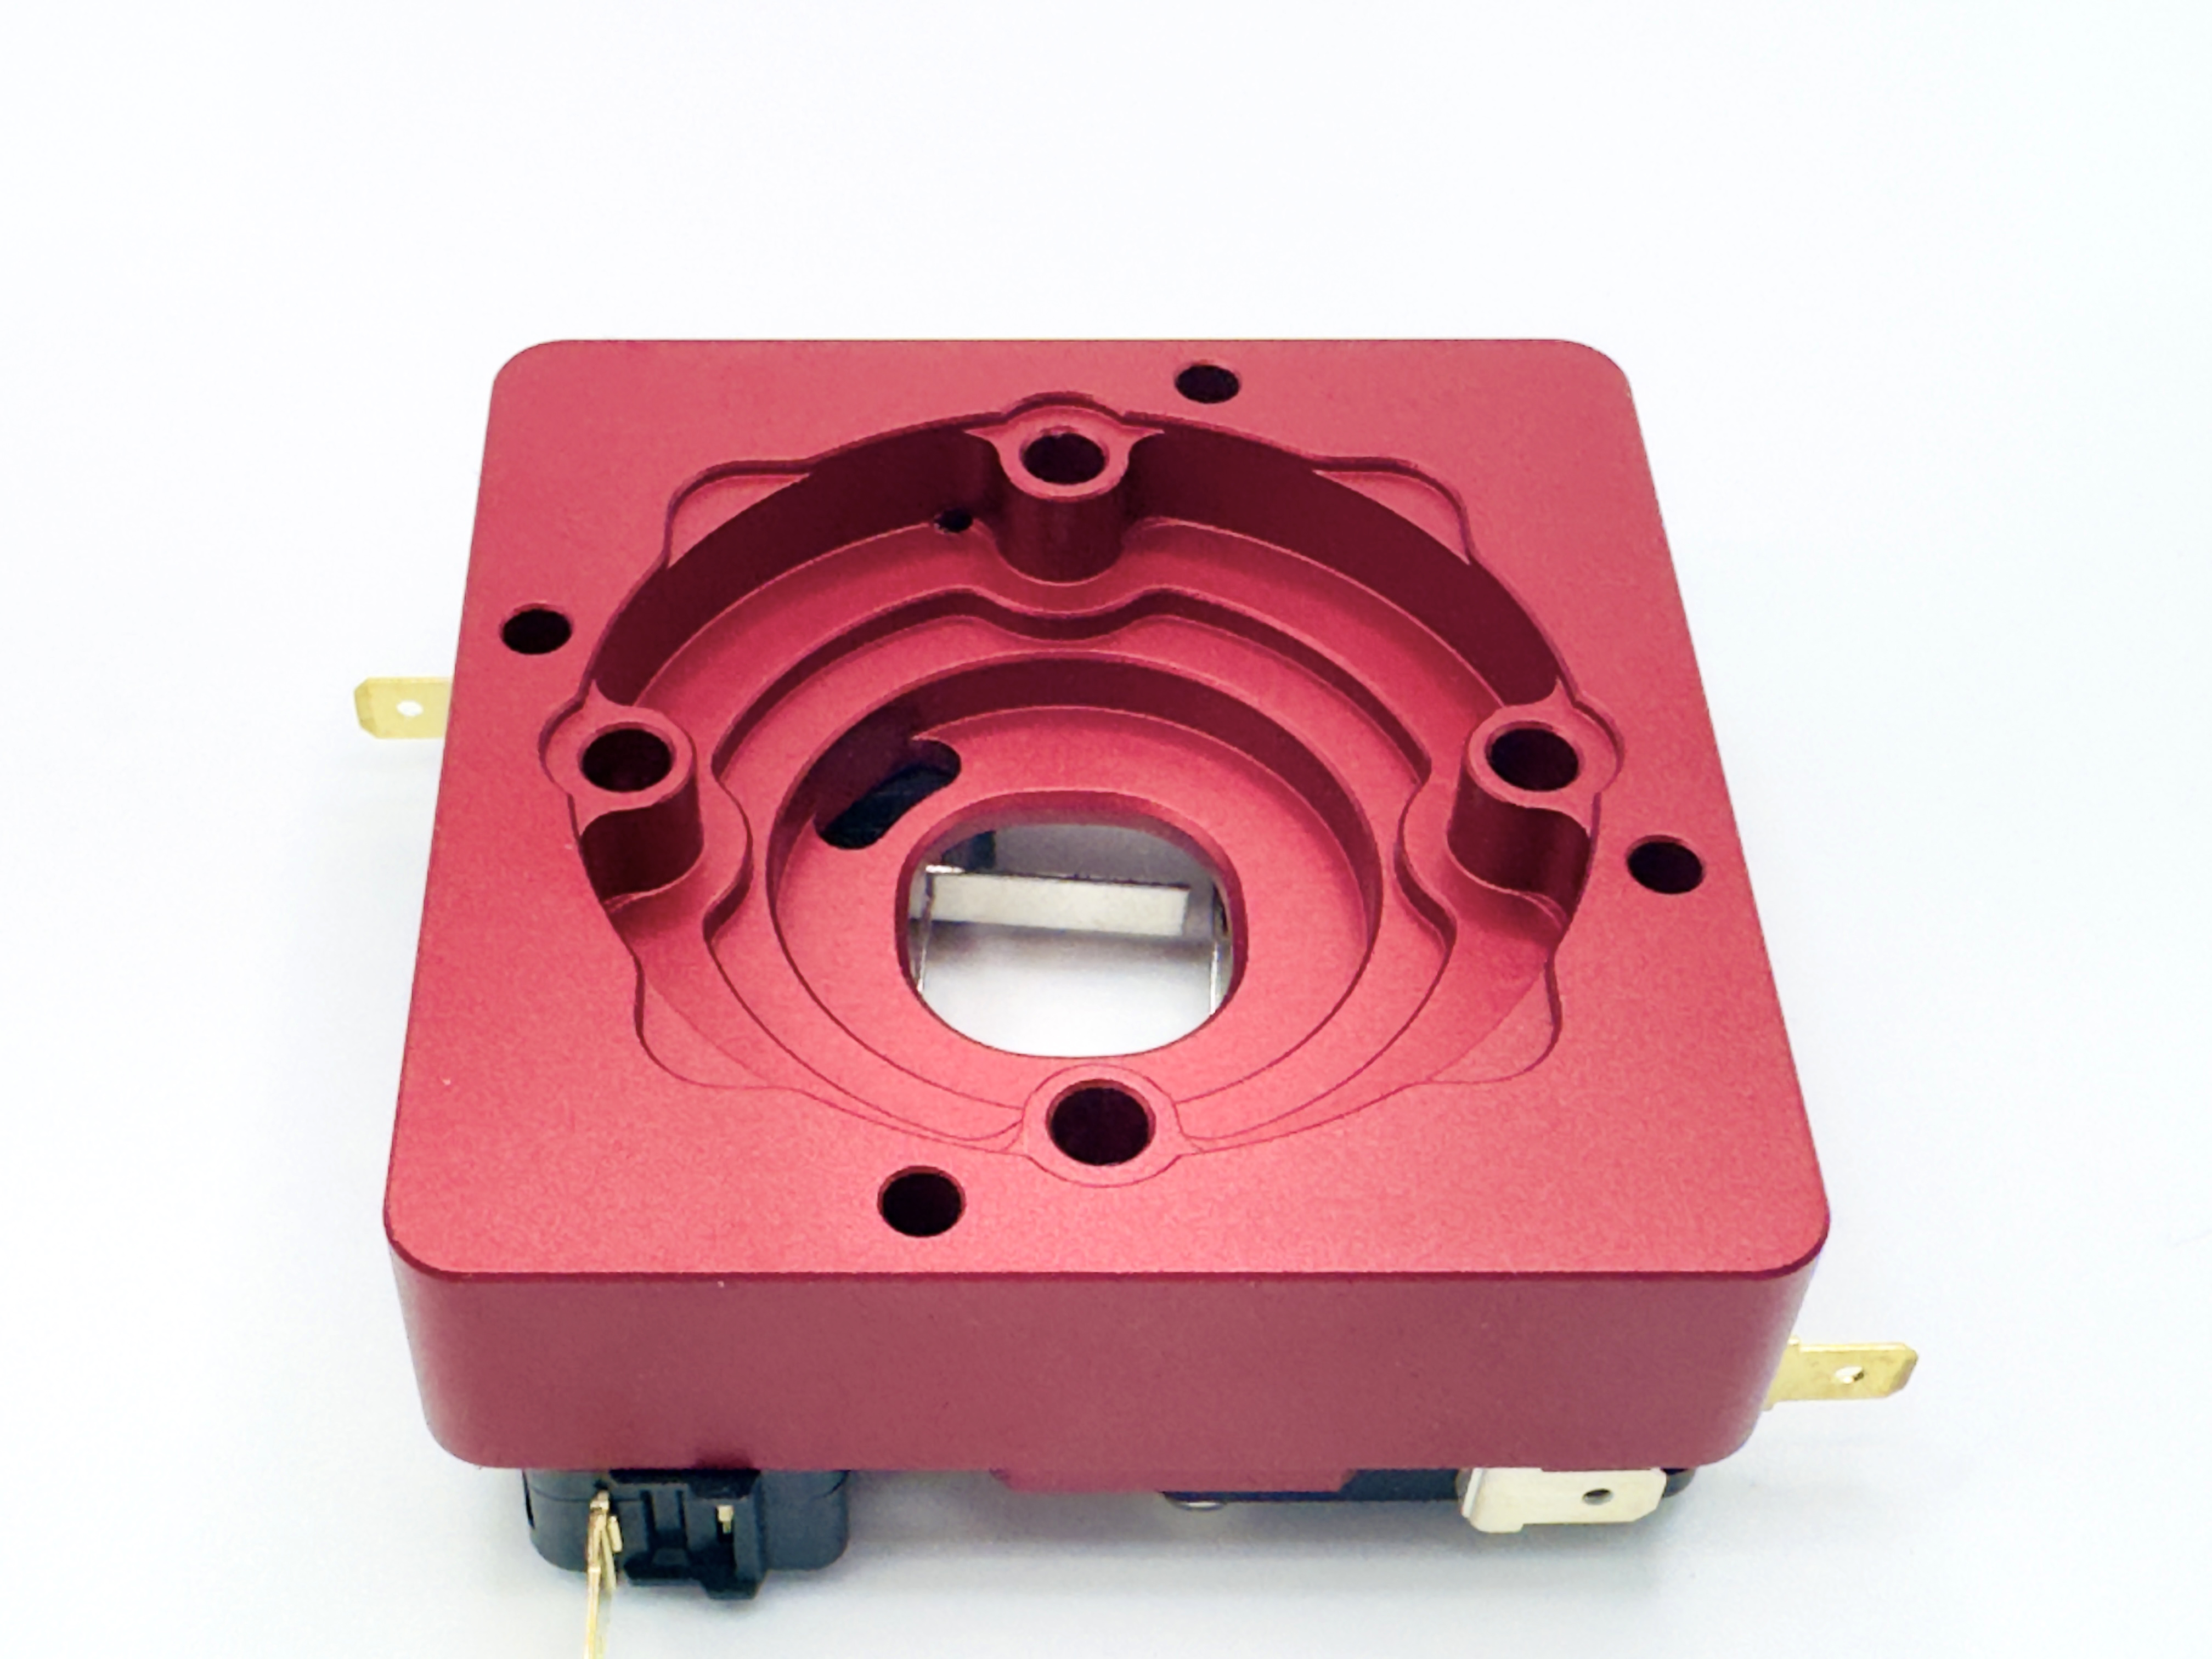
The interior of the lower housing and the central opening for the shaft.
05 · SANJUKS V6-ST
| Product | SANJUKS V6-ST Korean Lever |
|---|---|
| Manufacturer / Origin | SANJUKS / South Korea |
| Body color | Metal Red / Metal Violet |
| Grip | Capsule Black / Capsule White · Acetal capsule grip |
| Upper housing | Aluminum |
| Collar / Standard guide | Low-profile collar / Circular guide |
| Standard grommet | Samducksa 20-tension grommet · Yellow |
| Shaft | 9 mm anodized aluminum · Bolt retention at the bottom |
| Actuator | 15.2 mm · Designed for V6-ST |
| Switches | Omron V-16-3C26 |
| Mounting plate | MJ mounting plate · Drawing dimensions: 95 × 65 mm |
| Connection | 8-pin wiring / .187 terminals |
| Maintenance features | Separable upper and lower housing · Grommet inspection window |
| Category | Included Items |
|---|---|
| Lever / Grip | V6-ST body and capsule grip in your selected colors |
| Shaft / Retaining parts | 9 mm anodized aluminum shaft · Retaining bolt and washers |
| Operating components | 15.2 mm actuator · Samducksa 20-tension grommet |
| Cover | Dust washer |
| Tool | 8 mm spanner for the shaft |
This list follows the components shown in the product listing and includes both preassembled and separately packed items. Prepare a 5-pin-to-8-pin adapter harness separately if your setup requires one.
06 · SANJUKS V6-ST
Compatibility varies by component. Compatible shafts and guides do not mean that bobbins and actuators share the same compatibility. Check the details below before replacing parts.
| Part | Compatibility Listed for the Product |
|---|---|
| Shaft | V6 / V6-2 / V7 shafts are compatible |
| Guide | V6 / V6-2 / V7 guides are compatible |
| Bobbin | V6 / V6-2 bobbins are compatible V7 bobbins are not compatible |
| Actuator | The V6-ST uses an ST-specific actuator. The ST actuator also fits V6 / V6-2 models. |
The ST actuator can be used in V6 and V6-2 models. This does not mean that all V6 or V6-2 actuators can be used in the V6-ST. Check the dedicated V6-ST specifications when choosing a replacement.
Disconnect power and USB before separating the housing. Record the grommet and bobbin orientation and the positions of the mounting screws. After replacement, make sure the grommet is seated correctly, then test every direction and the return to neutral.
First, get familiar with the resistance, return-to-center feel, and diagonal inputs provided by the Samducksa 20-tension grommet. Changing one component at a time makes it easier to identify differences in feel.
07 · SANJUKS V6-ST
STEP 01
Disconnect USB and power before opening the case. Take photos of the existing lever orientation, wiring, and mounting screw positions to help with reassembly.
STEP 02
Compare the V6-ST mounting holes with those in your case. Before securing the lever, make sure the low-profile collar does not interfere with the panel and that there is enough room for the lower shaft, switch terminals, and wiring.
STEP 03
Secure the grip so it does not loosen, and check the assembly of the actuator, lower bolt, and washers. The lower assembly uses bolt retention, so check the orientation and fastening of each part.
STEP 04
Connect the wiring without pulling or pinching it. Keep your hands and tools clear of the interior, then reconnect power. On an input test screen, check up, down, left, right, diagonals, and neutral. Once everything works correctly, disconnect power again and close the bottom panel.
Disconnect power, then check your reference photos and the PCB pinout. Identify the common ground and directional signal wires; do not rely on wire colors alone.
Please include your arcade stick model and photos of the internal mounting area,
along with details of the parts you plan to use.
Contact us through the ISTMALL product inquiry section.


