


Option
- Collar :
- Battop :
Total Purchase Amount:
$0




ISTMALL · SANJUKS LEVER
SANJUKS V6 · Interchangeable Collar
A precision-machined body.
A feel you can make your own.
Options — Choose your combination of 2 collar heights and 6 clear bat top colors.
Fitment — Check the top-panel lever opening, mounting-hole positions, and space inside your fightstick.
Wiring — The V6 uses 8 individual switch terminals. A compatible conversion harness is required if your existing wiring uses a 5-pin connector.
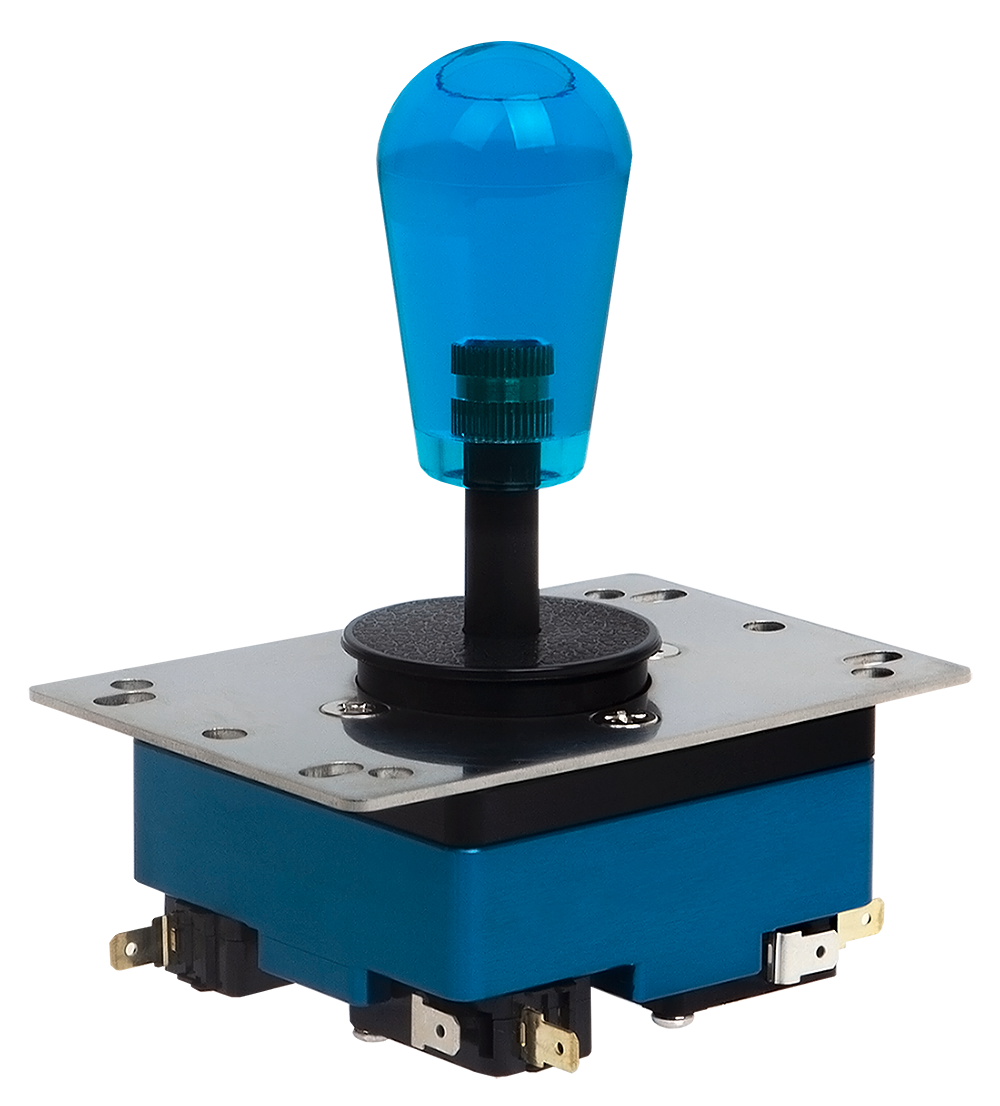
Example shown: Clear Blue bat top with Mid Collar. Your grip color and collar height will match the options selected when ordering.
01 · SANJUKS V6
The SANJUKS V6 combines an acetal upper housing with a precision-machined aluminum lower housing. It uses a Samducksa tension grommet and Omron microswitches, with an interchangeable collar/guide design that lets you choose a setup to suit your mounting requirements and preferences.
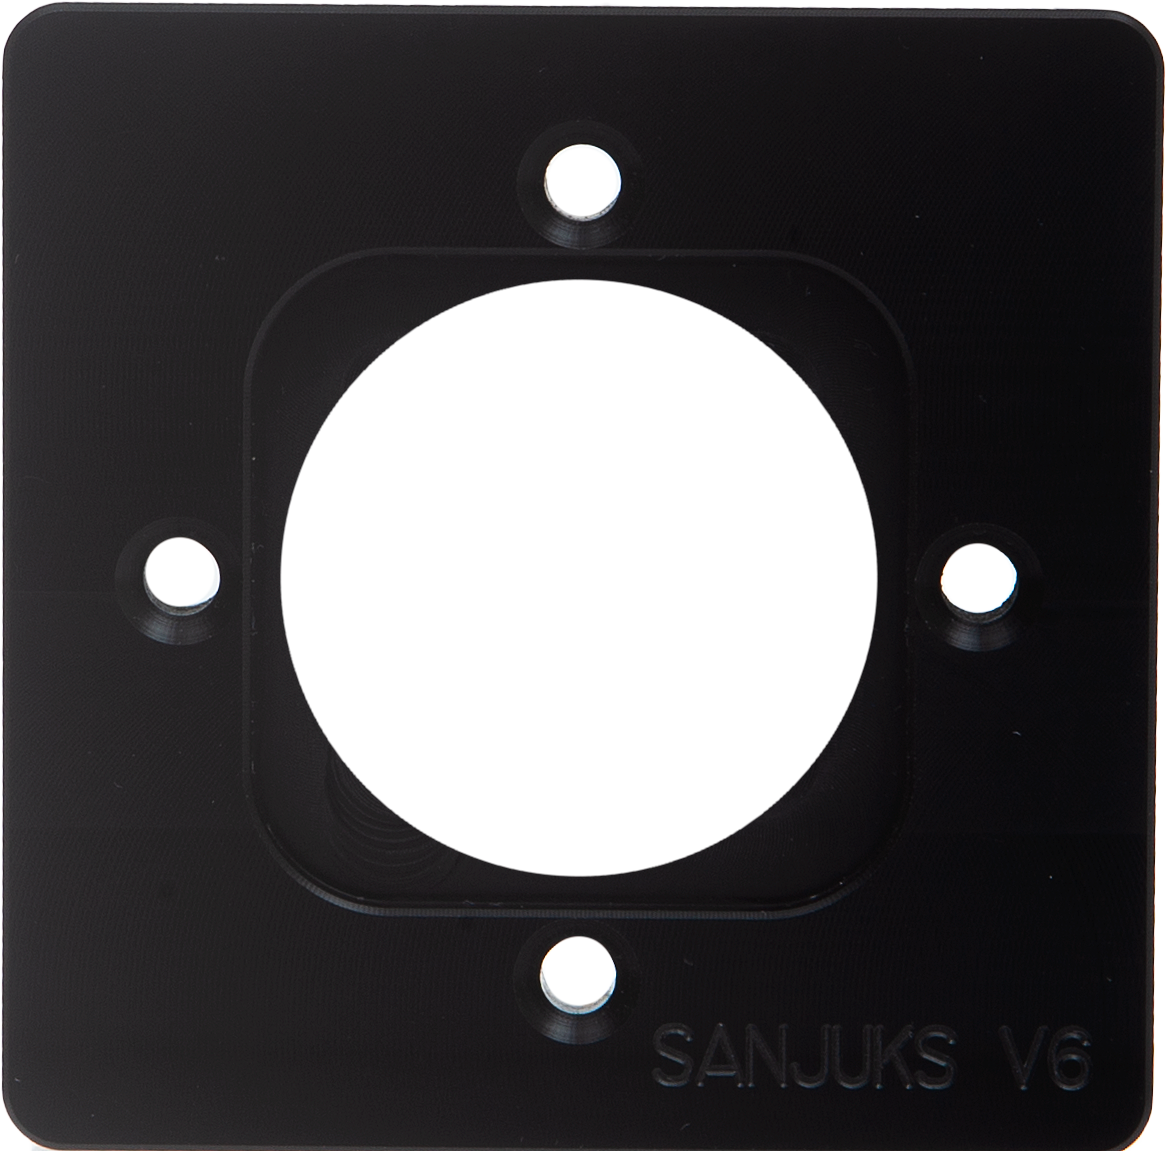
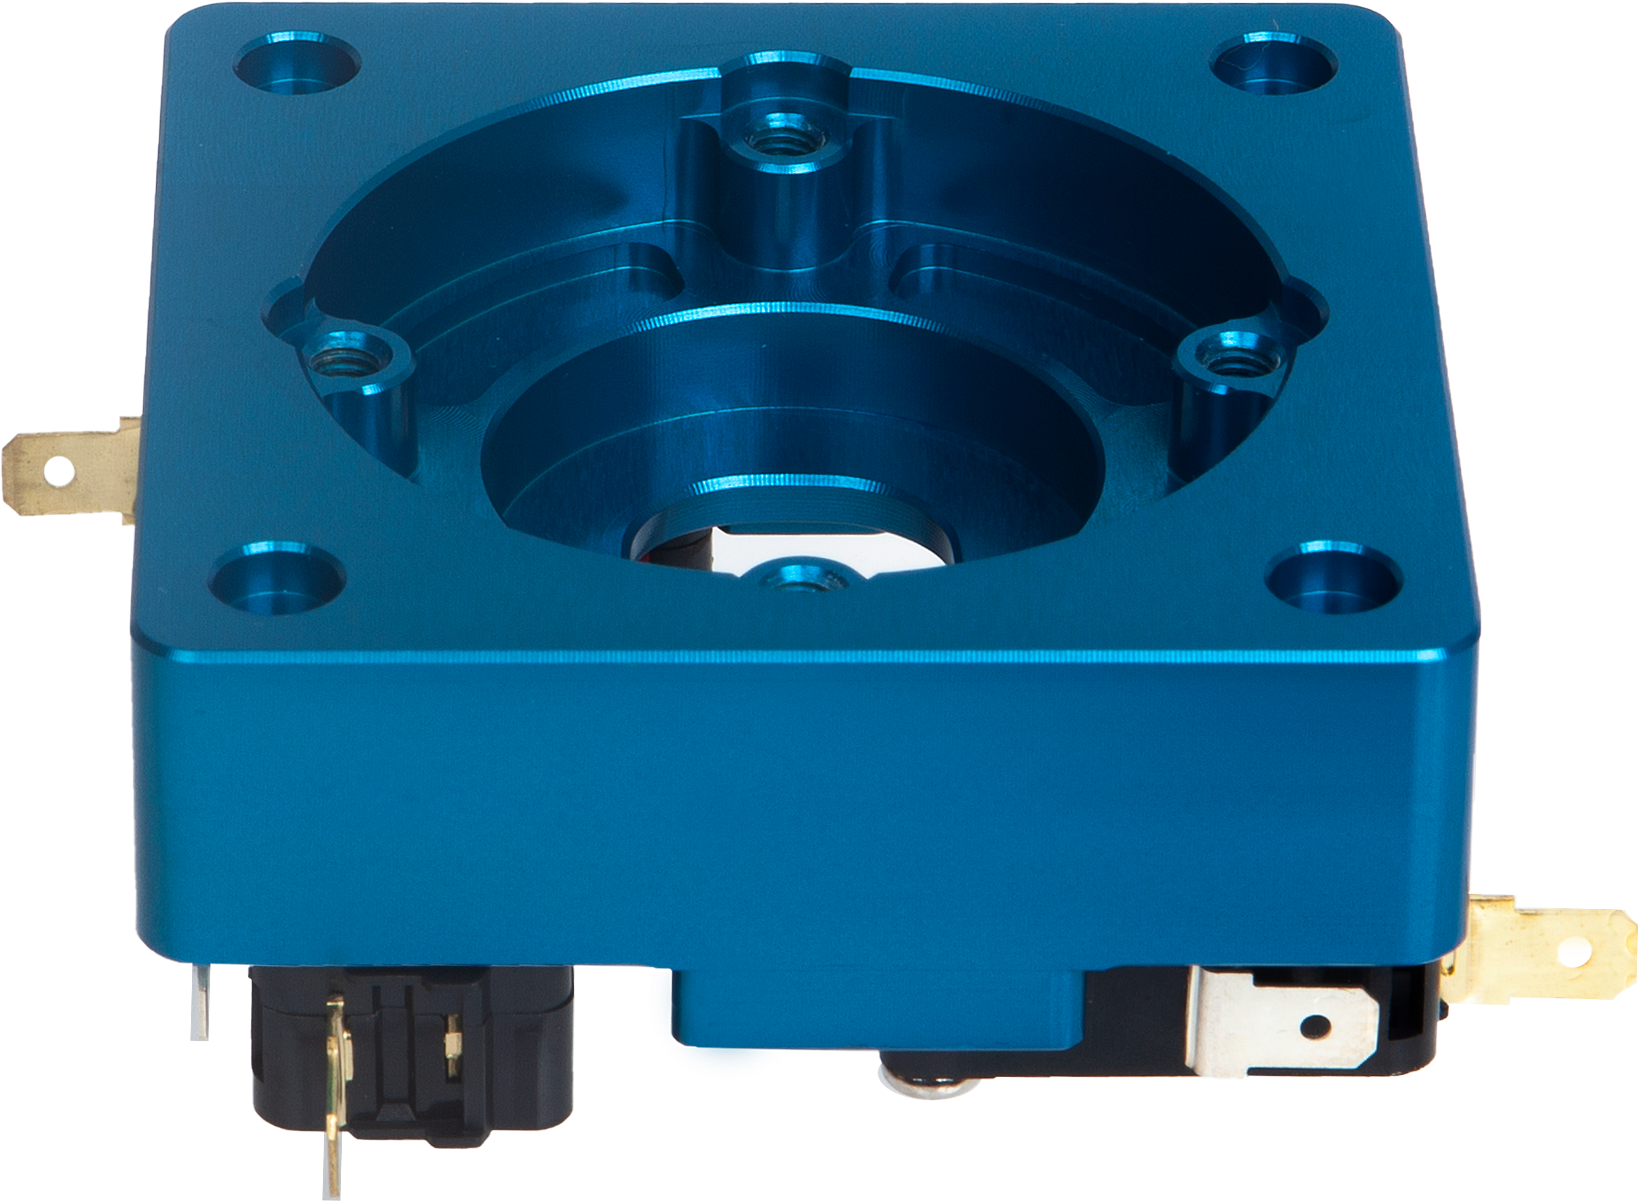
The upper housing is made from polyacetal (POM), while the lower housing uses precision-machined, anodized aluminum. The photos show the upper housing and the machined interior of the lower housing.
| Acetal Upper Housing | Aluminum Lower Housing |
|---|---|
|
|
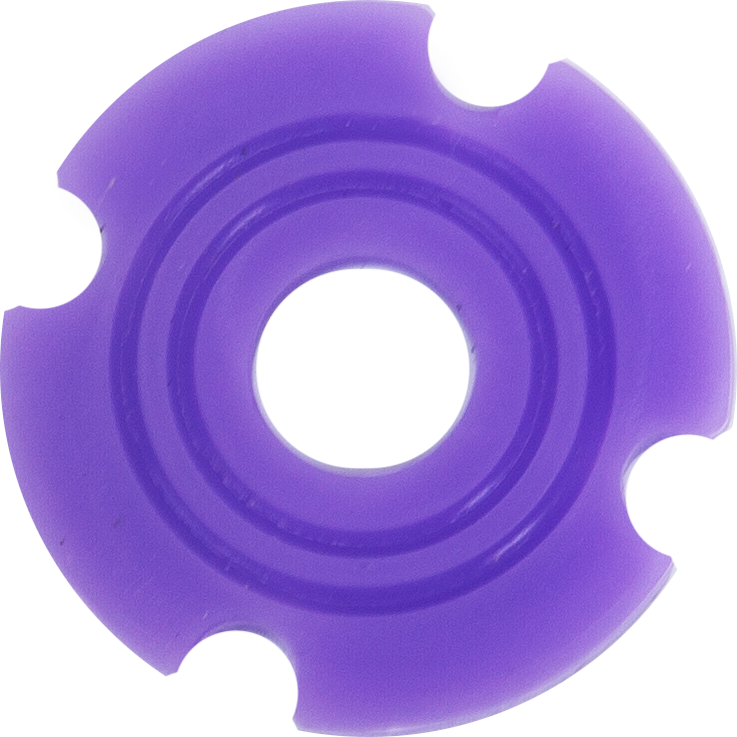
A purple Samducksa 30-tension grommet is fitted as standard. The grommet provides resistance as you move the lever and helps it return to center when released. Try the stock setup first, then consider a replacement if you want to adjust the feel.
Omron V-16-3C26 microswitches register the four directional inputs. The stock circular guide allows the lever to follow a rounded path at the edge of its travel, while supporting up, down, left, right, and diagonal inputs.
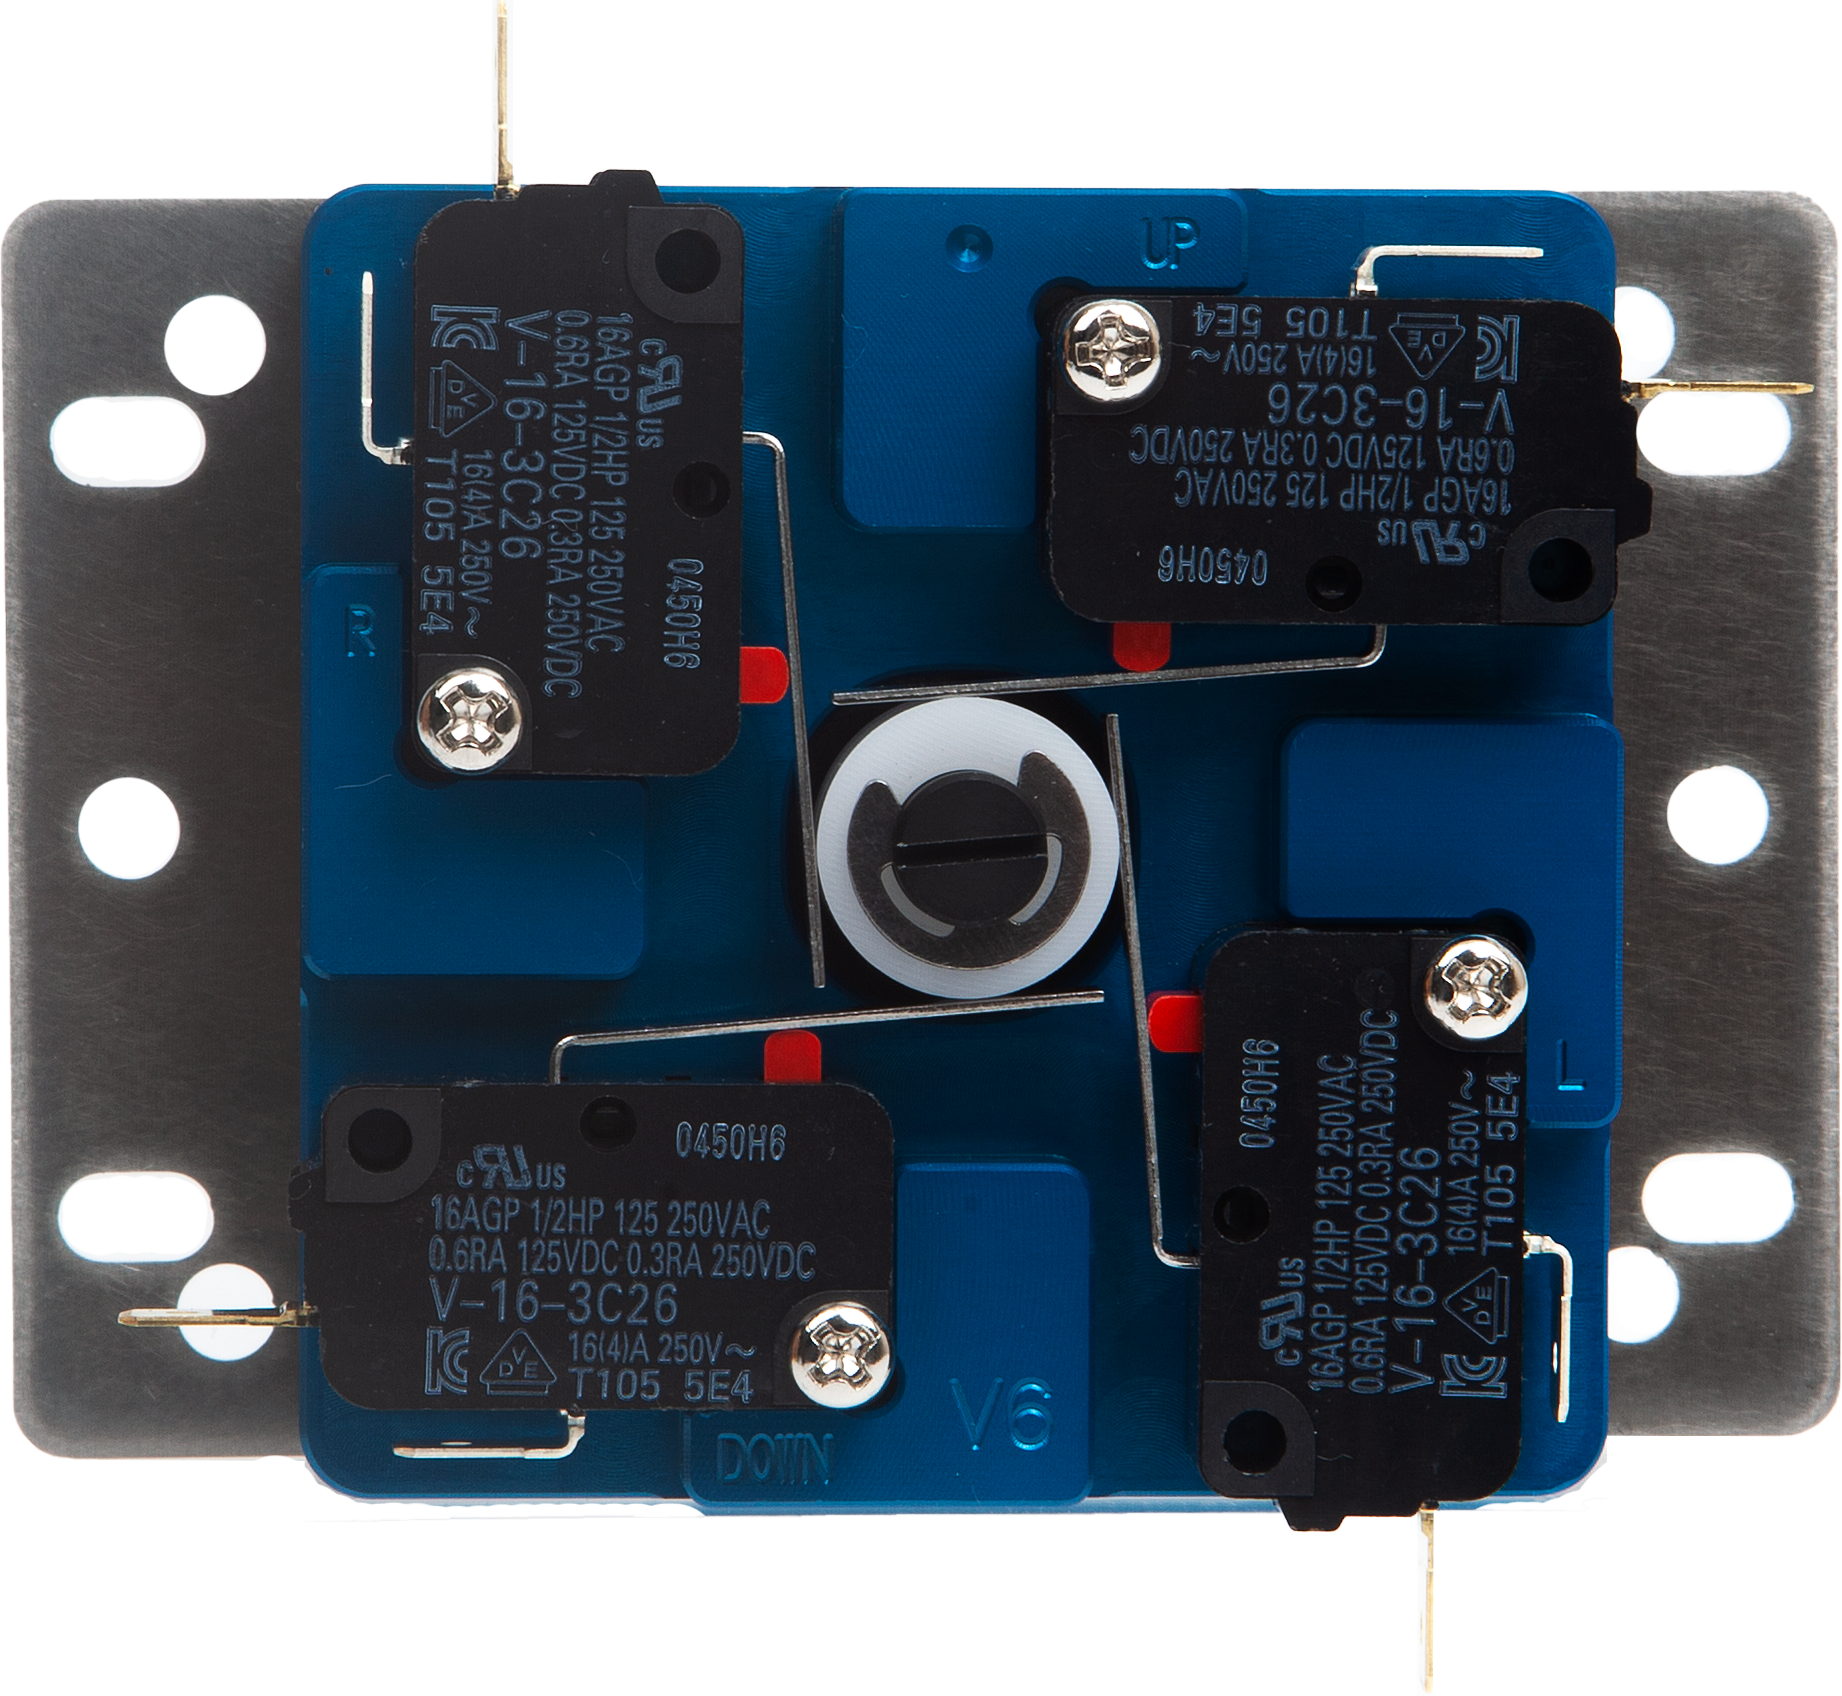
The actuator at the bottom of the shaft presses the metal switch levers to register directional inputs.
02 · SANJUKS V6
| Option | Available Choices |
|---|---|
| Collar Height | Full Collar / Mid Collar |
| Bat Top Color | Clear Blue · Clear White · Clear Pink Clear Red · Clear Smoke · Clear Violet |
| Grip Style | Translucent bat top |
|
Clear Blue |
Clear White |
|
Clear Pink |
Clear Red |
|
Clear Smoke |
Clear Violet |
The color swatches above are reference colors for identifying the options. Actual color and transparency may vary with lighting and display settings. One grip in your selected color is supplied.
For example, you can choose Mid Collar + Clear Blue or Full Collar + Clear White. Choose the grip color you prefer, and select a collar height that suits your fightstick's top-panel design.
03 · SANJUKS V6
The collar is the raised section around the shaft. Choose Full Collar for the taller version or Mid Collar for the shorter version. The V6 features an interchangeable collar/guide design.
The taller collar extends above the top panel. Use a 35 mm-class opening for a full-collar lever as a fitment reference, and check the actual opening diameter against the collar's outer diameter. Do not force the collar into an opening that is too small.
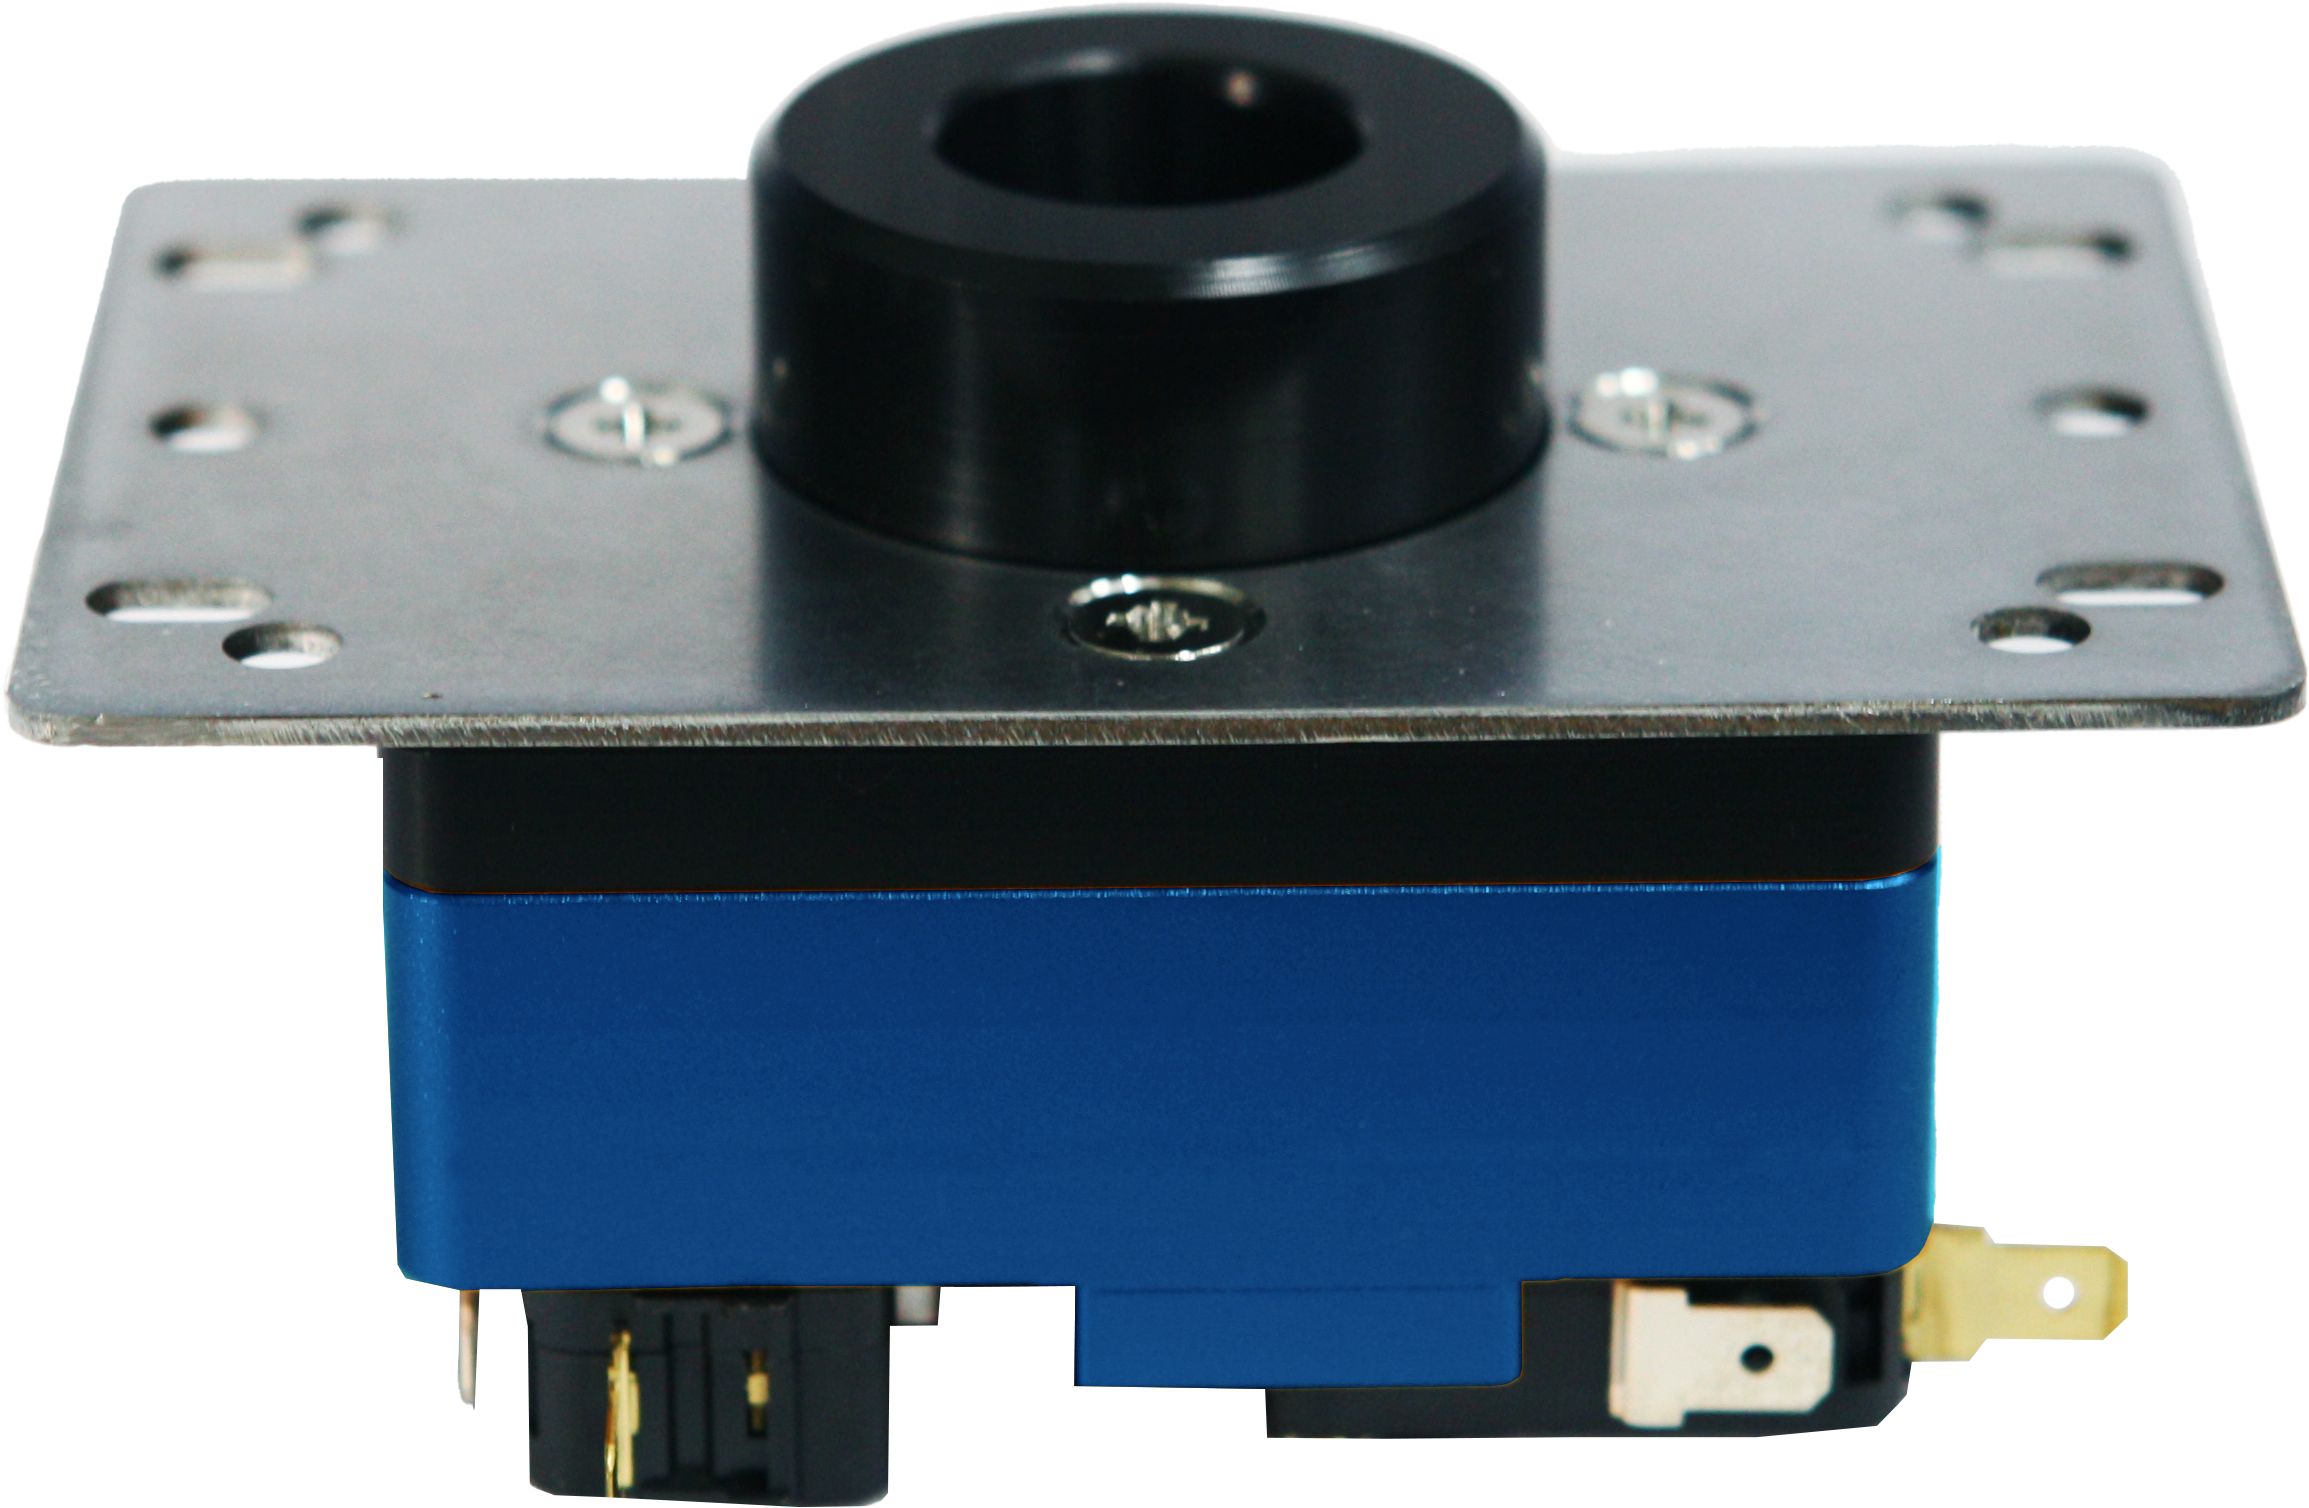
Full Collar · Note the taller section that extends above the top panel.
The Mid Collar has a lower profile than the Full Collar. It is the first option to consider for fightsticks with smaller lever openings, but choosing Mid Collar does not guarantee compatibility with every enclosure. Check panel thickness, mounting points, and internal clearance as well.
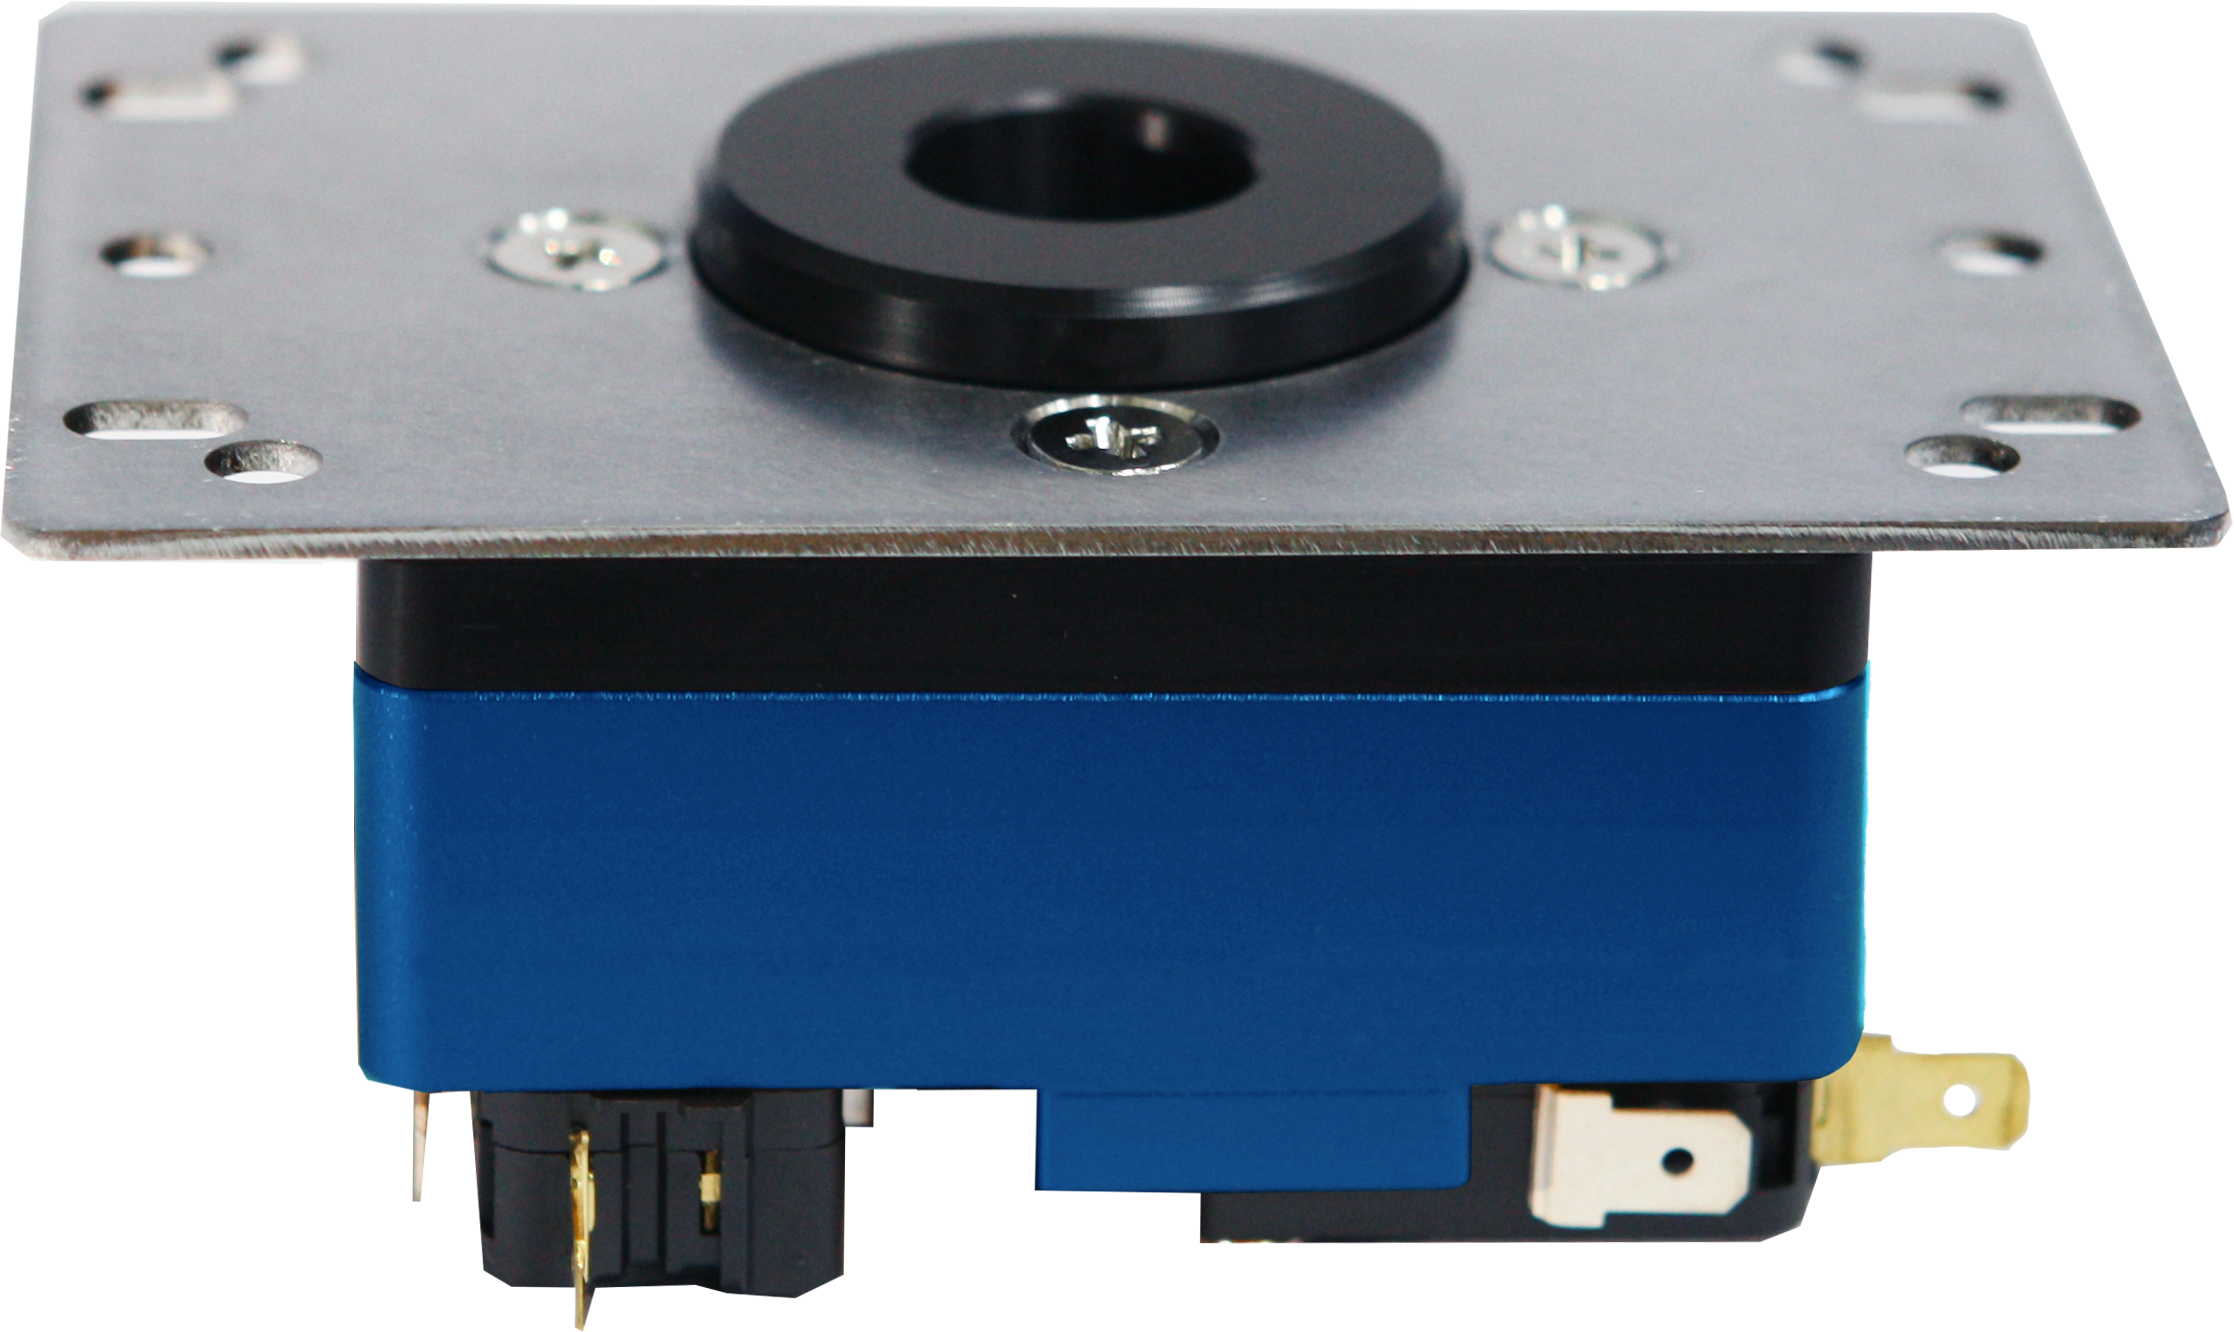
Mid Collar · Note the lower profile compared with the Full Collar.
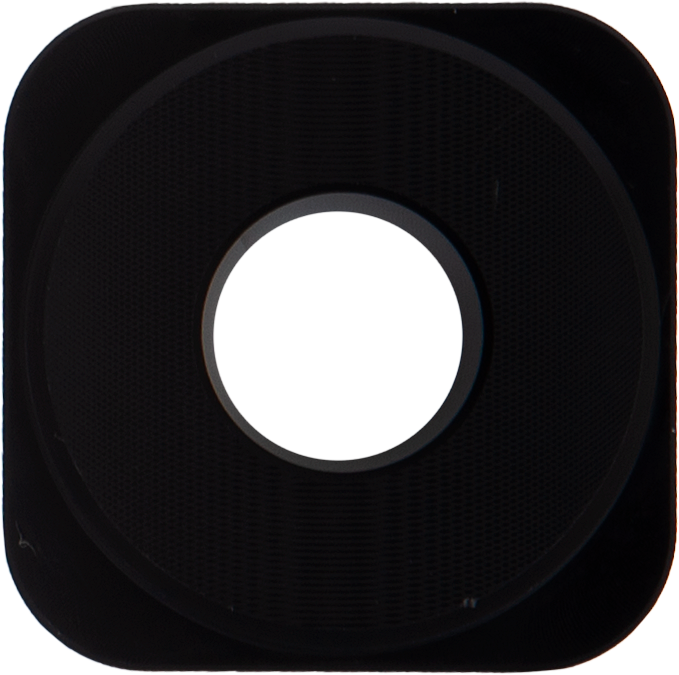
The photo shows the separate Mid Collar circular guide.
| Your Setup | What to Check |
|---|---|
| Panel designed for a full-collar lever | Confirm that the opening accommodates the collar's outer diameter before selecting Full Collar. |
| Small panel opening or limited collar clearance |
Consider Mid Collar, and check the opening diameter and internal clearance together. |
| Unsure about the internal layout |
Send us your fightstick model name and photos of the top panel and internal mounting area through product inquiries. |
Collar height is a selectable option. Full Collar and Mid Collar are not both included. The stock guide is circular; other guide shapes are sold separately.
04 · SANJUKS V6
Fitment depends on collar height, mounting-hole positions, internal clearance, and wiring. The following models are listed as fitment references in the existing V6 product listing.
| Brand | Fitment Reference Models |
|---|---|
| ISTMALL | MakeStick Pro / MakeStick Prime Full Collar / Mid Collar |
| Qanba | Q1 / Obsidian Mid Collar |
| Mad Catz | TE2+ / *Mid Collar |
| HORI | Real Arcade Pro V Hayabusa / *Mid Collar |
| Razer | Original Pantera Mid Collar |
Check newer models and other generations separately, even when they are from the same brand.
The V6 uses an MJ multi-mounting plate, with overall dimensions of approximately 95 × 65 mm as shown in the drawing. Compare the mounting-hole positions with your enclosure. Matching screw holes alone are not enough if the collar or lower components interfere with the case.
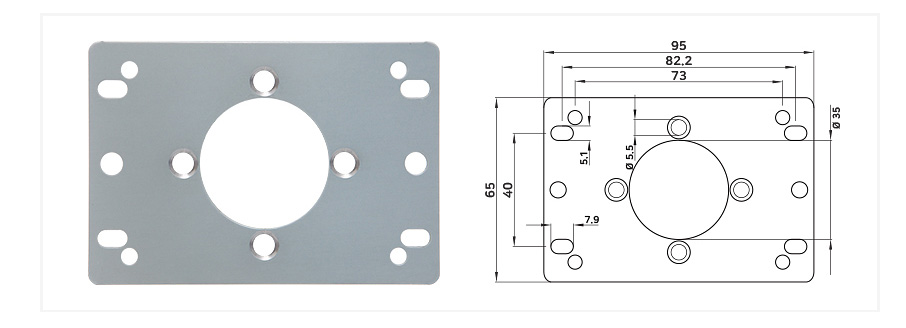
Mounting plate drawing · Dimensions in mm
The listed body height is approximately 36 mm, excluding the grip, shaft, and collar. The stated measurement may vary by approximately 2–3 mm. Allow additional clearance above the case floor for the lower shaft, actuator, switch terminals, and wiring.
The V6 uses an 8-terminal connection to individual microswitches. If your existing lever uses a 5-pin connector, prepare a compatible 5-pin to 8-terminal conversion harness separately. Check both your PCB's pinout and the switch terminal size.
05 · SANJUKS V6
| Product | SANJUKS V6 Lever |
|---|---|
| Maker / Origin | SANJUKS / Republic of Korea |
| Upper Housing | Polyacetal (POM) |
| Lower Housing | Precision-machined, anodized aluminum |
| Grip | Clear bat top · Choice of 6 colors |
| Collar / Stock Guide | Full Collar or Mid Collar / Circular |
| Stock Grommet | Samducksa 30-tension · Purple |
| Shaft | Anodized aluminum shaft |
| Bobbin | V6 bobbin |
| Switches | Omron V-16-3C26 |
| Mounting Plate | MJ multi-mounting plate · Sanwa-style mounting |
| Plate Size | Approximately 95 × 65 mm, as shown in the drawing |
| Body Height | Approximately 36 mm Excludes grip, shaft, and collar / Stated measurement may vary by 2–3 mm |
| Wiring | 8 individual microswitch terminals |
| Category | Included Items |
|---|---|
| Body / Grip | V6 body · Mounting plate · Shaft · Bat top in your selected color |
| Tension Components | Samducksa 30-tension grommet · V6 bobbin |
| Collar / Guide | Circular guide in the selected Full Collar or Mid Collar height |
| Actuation / Retention | Actuator · E-Clip |
| Cover | Dust Washer |
This list includes both preinstalled components and separately packed items. The photos below illustrate the individual parts; the grip color and collar height supplied will match your selected options. Prepare a conversion harness separately if required.
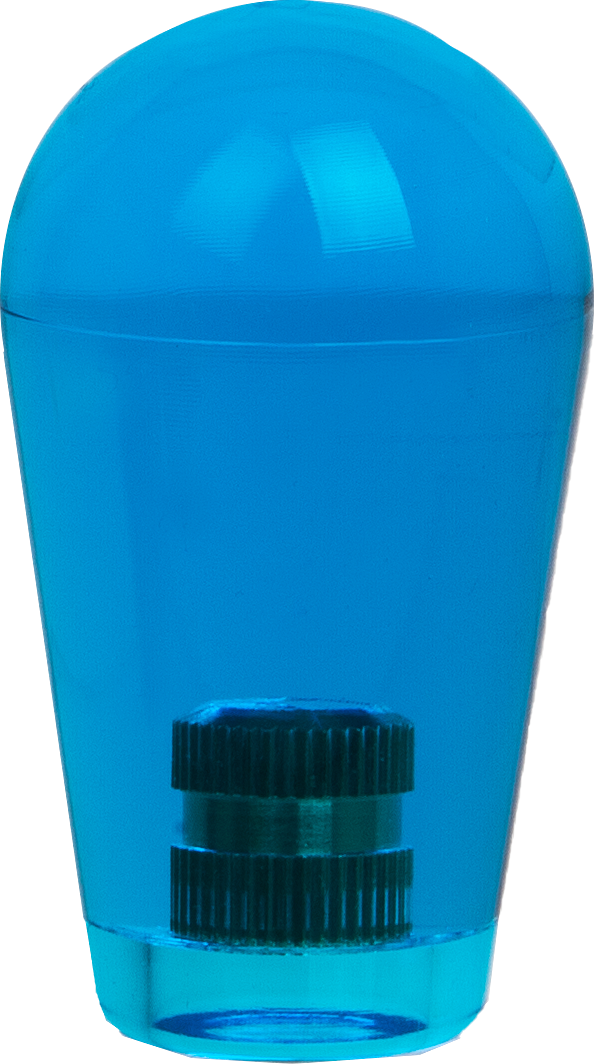
Clear Bat Top Shown: Clear Blue |
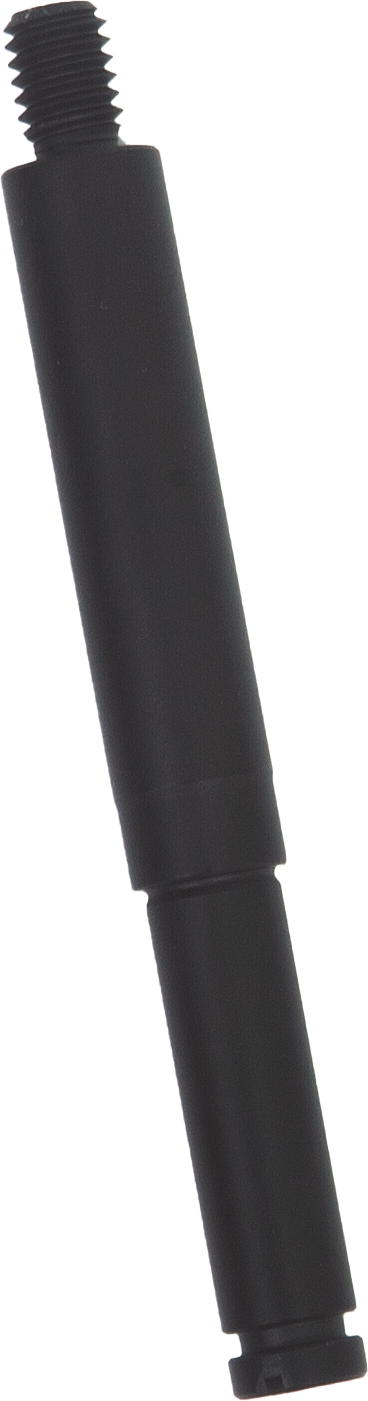
Shaft The central shaft connecting |
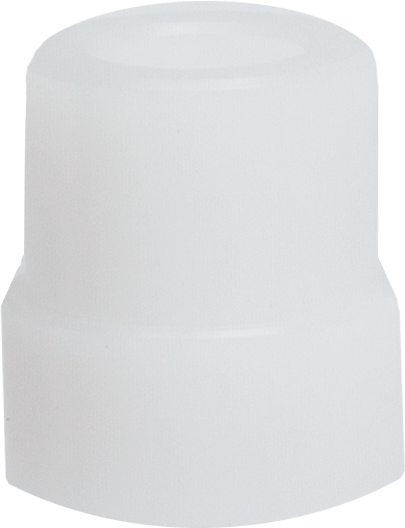
Actuator Pushes the switches |
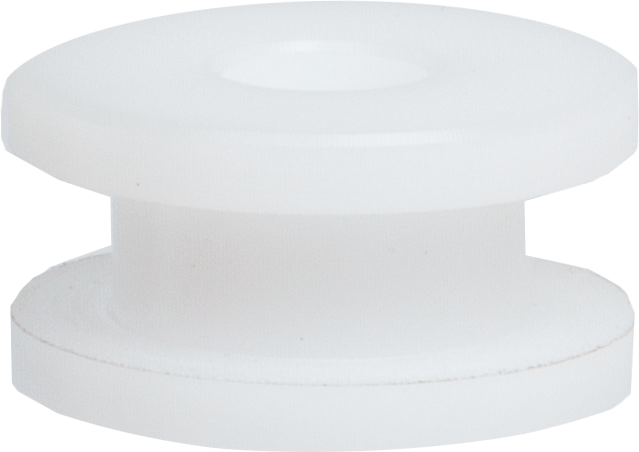
Bobbin Transfers shaft movement |
|
Samducksa 30-Tension Grommet Standard purple grommet |
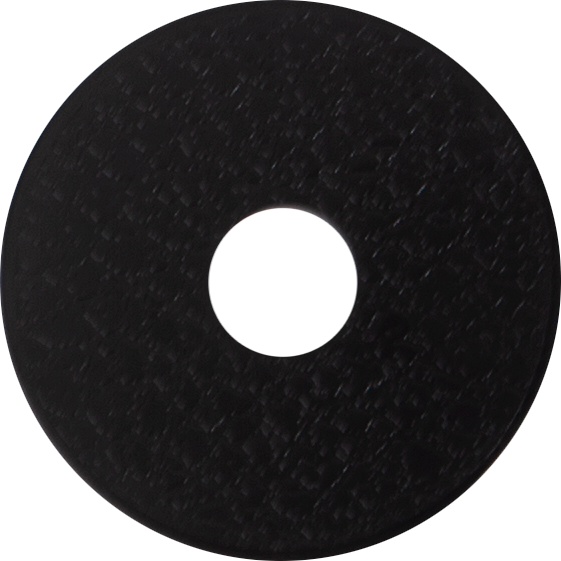
Dust washer A circular cover |
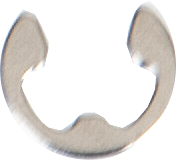
E-Clip Fits into the shaft groove |
Collar / Circular Guide Shown: Mid Collar |
06 · SANJUKS V6
The number identifies the stock grommet's tension rating. The resistance you feel can vary with grommet wear, component combinations, and where you hold the grip. First, get familiar with the return-to-center feel and diagonal inputs.
The circular guide defines the shape of the lever's travel limit. The clicking sound comes from the microswitches actuating; it does not mean the guide has corners. A circular guide still allows all four cardinal directions and diagonal inputs.
When choosing a shaft, actuator, bobbin, or guide, check the part's V6 compatibility and dimensions. The V7's Hyper grommet and dedicated bobbin are a different combination from the V6's stock setup. Change one component at a time to make the effects easier to compare.
Start with the stock setup and identify what you would like to change. Consider the grommet if you want a different return-to-center feel, or the actuator if you want to adjust where inputs engage. A change can also affect other inputs, so retest every direction and neutral after replacing parts.
Minor surface marks or scratches may occur during manufacturing and machining. If you have a question about the finish or operation, please contact us with photos and a description of the issue.
07 · SANJUKS V6
STEP 01
Disconnect your fightstick's USB cable and power before opening the case. Take photos of the existing lever orientation, wiring, and screw positions to help with reassembly and input checks.
STEP 02
Confirm that the selected Full Collar or Mid Collar clears the top panel. Before securing the mounting plate, check that there is enough room for the lower shaft and wiring. Do not force parts into holes or mounting points that do not fit.
STEP 03
If the shaft turns while you tighten the grip, hold it steady with a correctly sized flat-head screwdriver in the slot at the bottom of the shaft. Do not overtighten. Check that the actuator is correctly assembled and that the E-Clip is fully seated in the shaft groove.
STEP 04
Connect the switch terminals without stretching or pinching the wires. Remove your hands and tools from the case, then reconnect power. Use an input test screen or practice mode to check up, down, left, right, diagonals, and neutral. Once everything works correctly, disconnect power again and close the bottom panel.
Disconnect power, then check your wiring photos and PCB pinout to correct the signal connection for the affected direction. Identify the common ground and directional signal wires rather than relying on wire colors alone. Check the connections before attempting to bend any microswitch levers.
Send us your fightstick model name, internal photos,
and the collar height or components you are considering.
Contact ISTMALL through product inquiries for assistance.


